The Laundry Room is Done!

Well, for a while. 
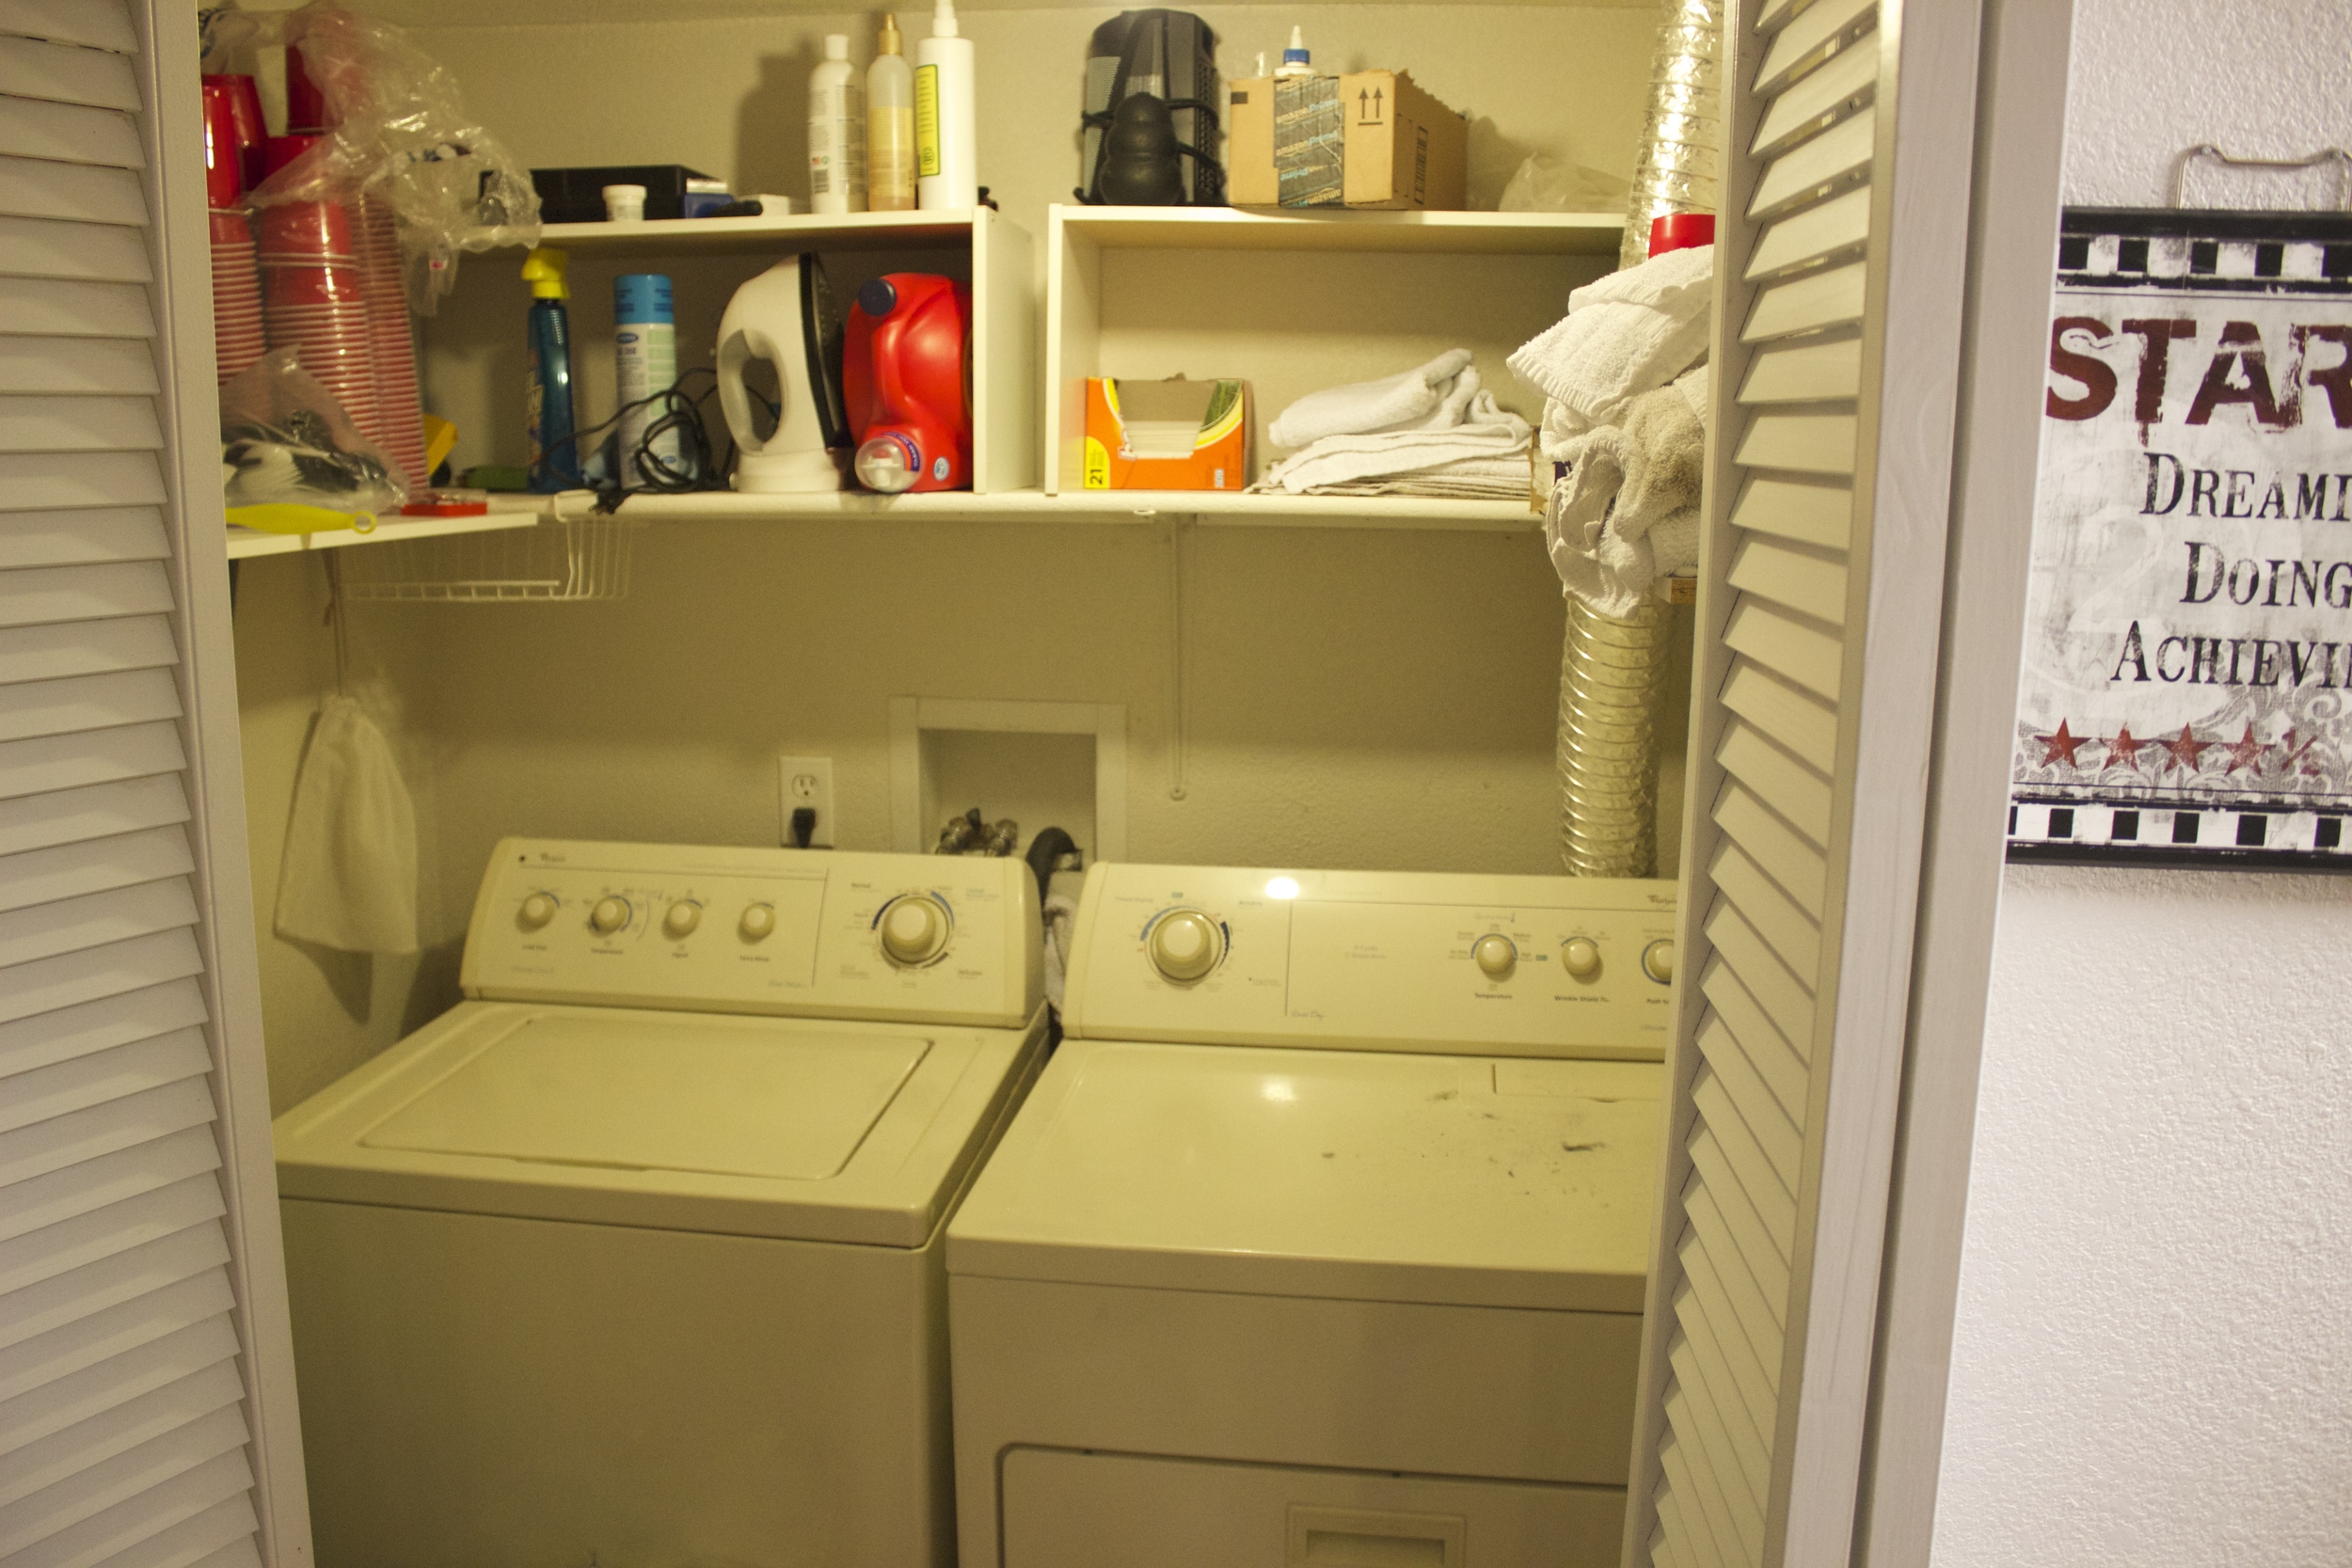
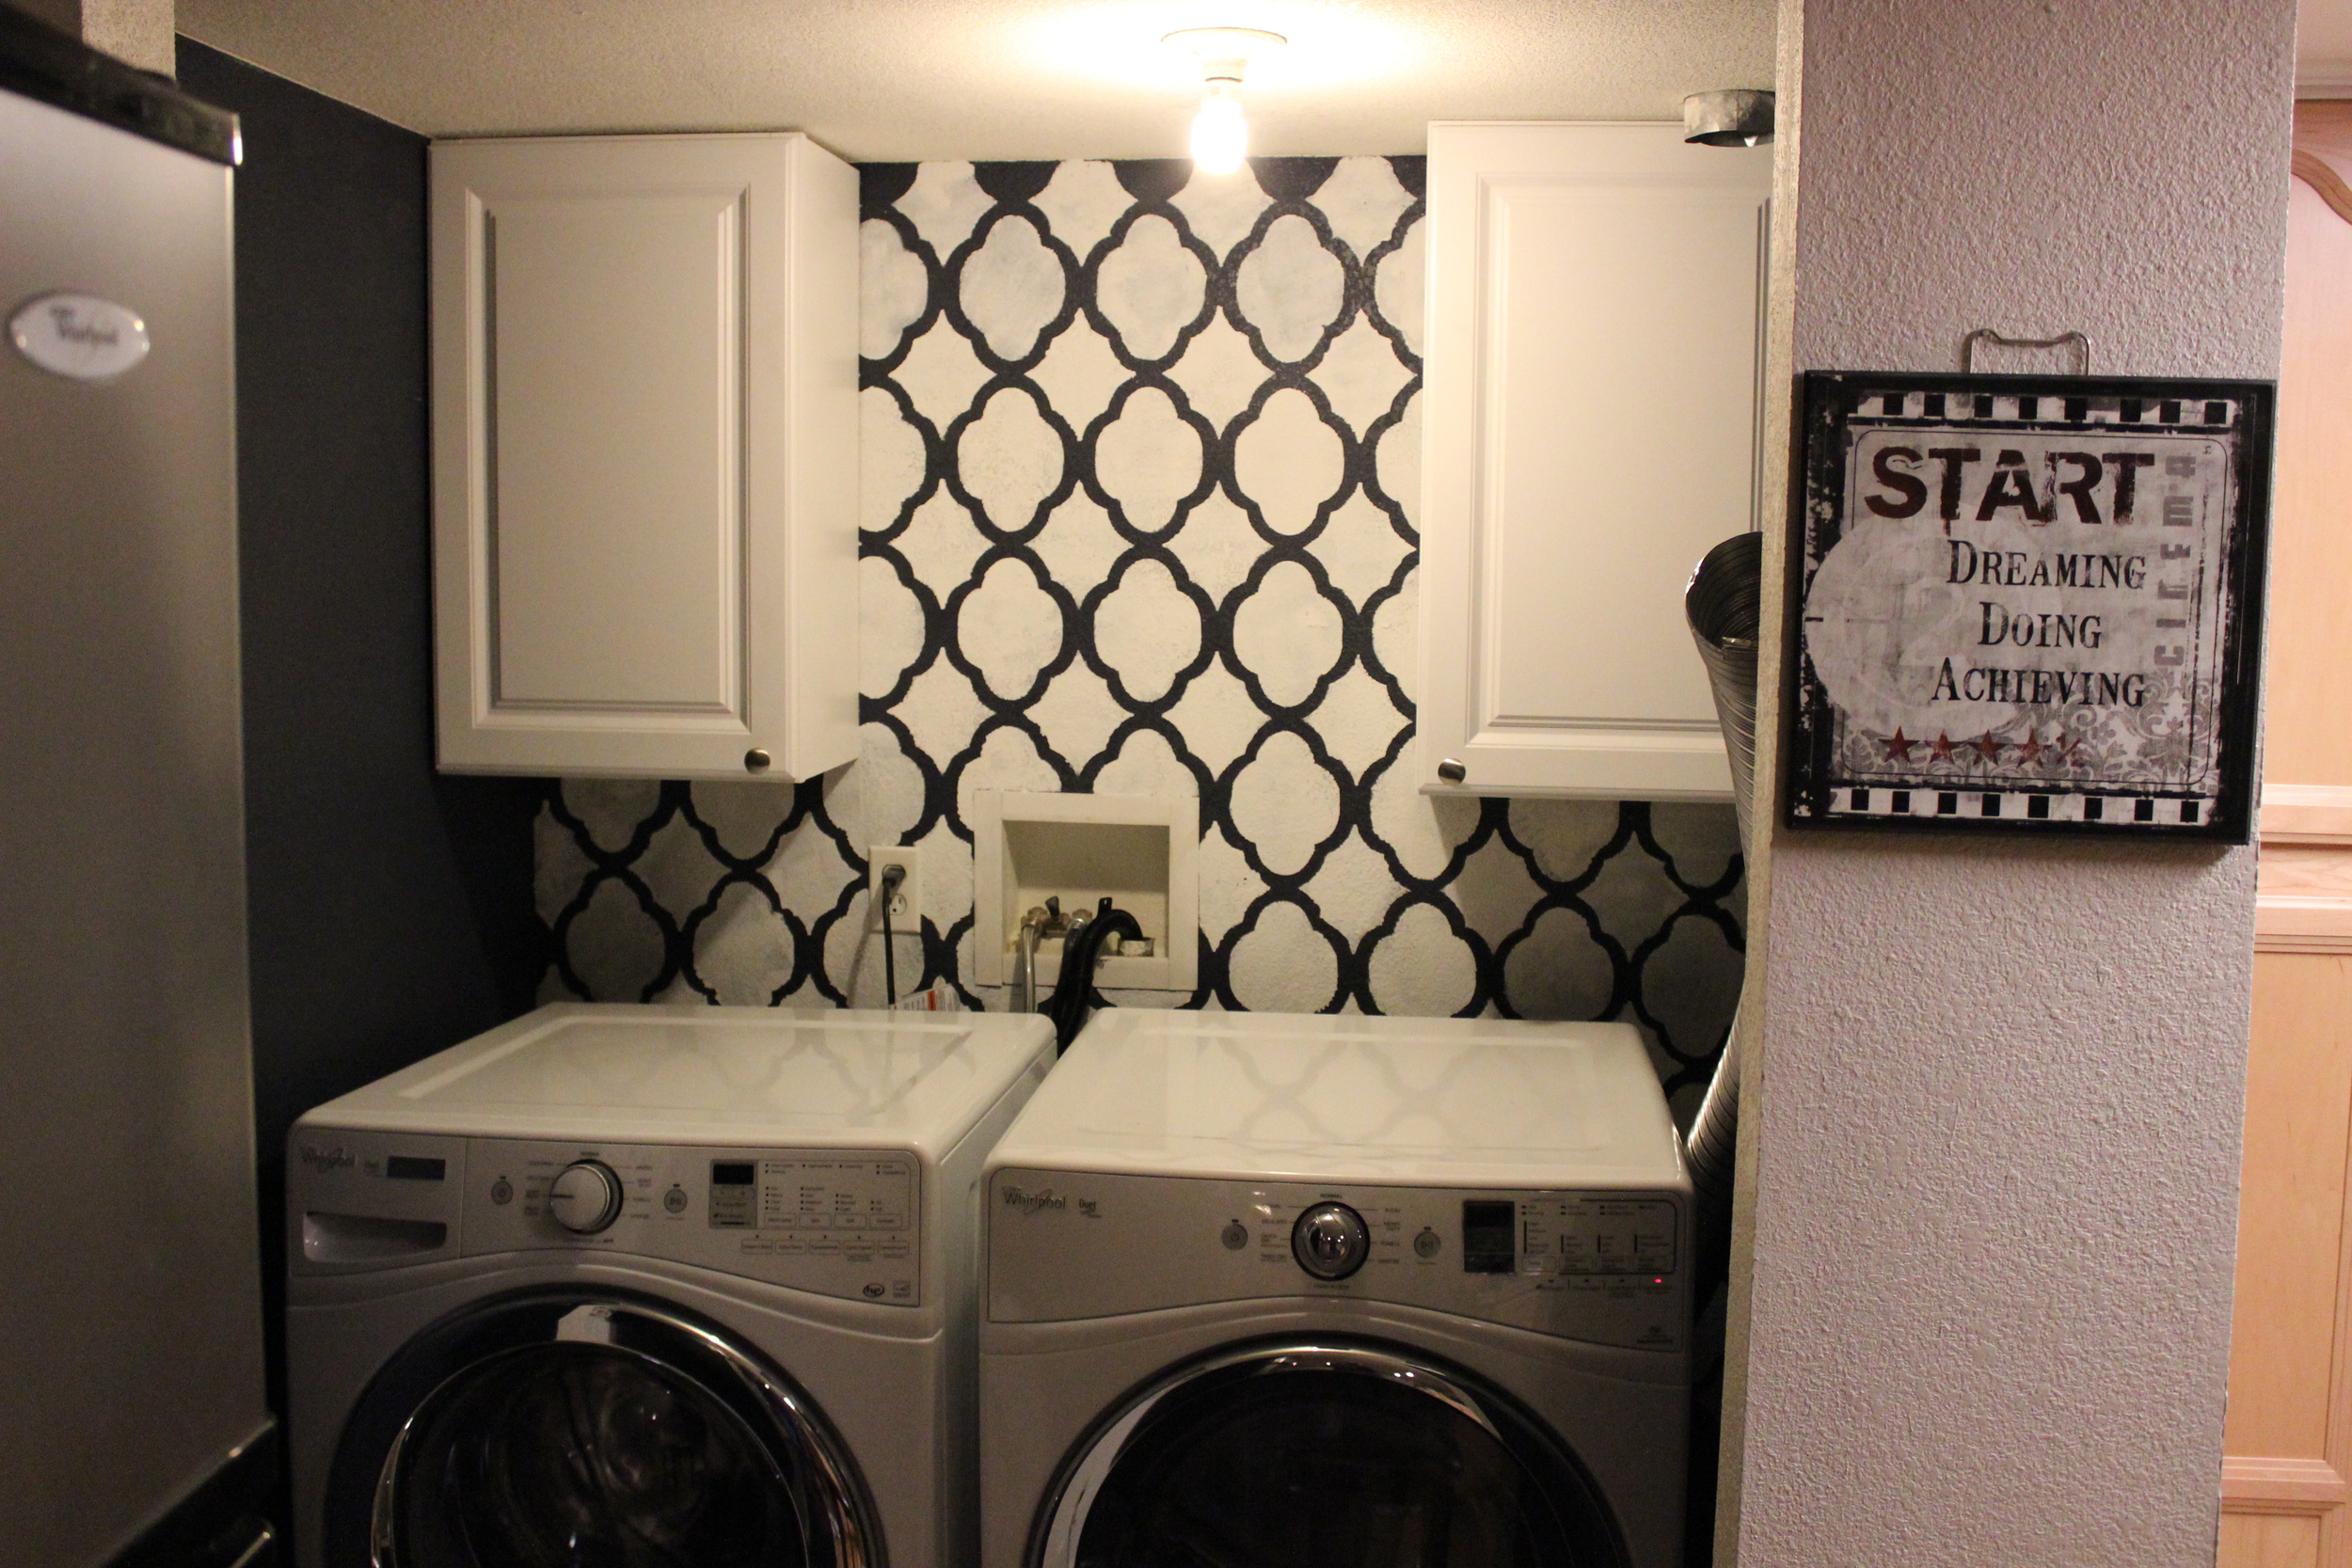
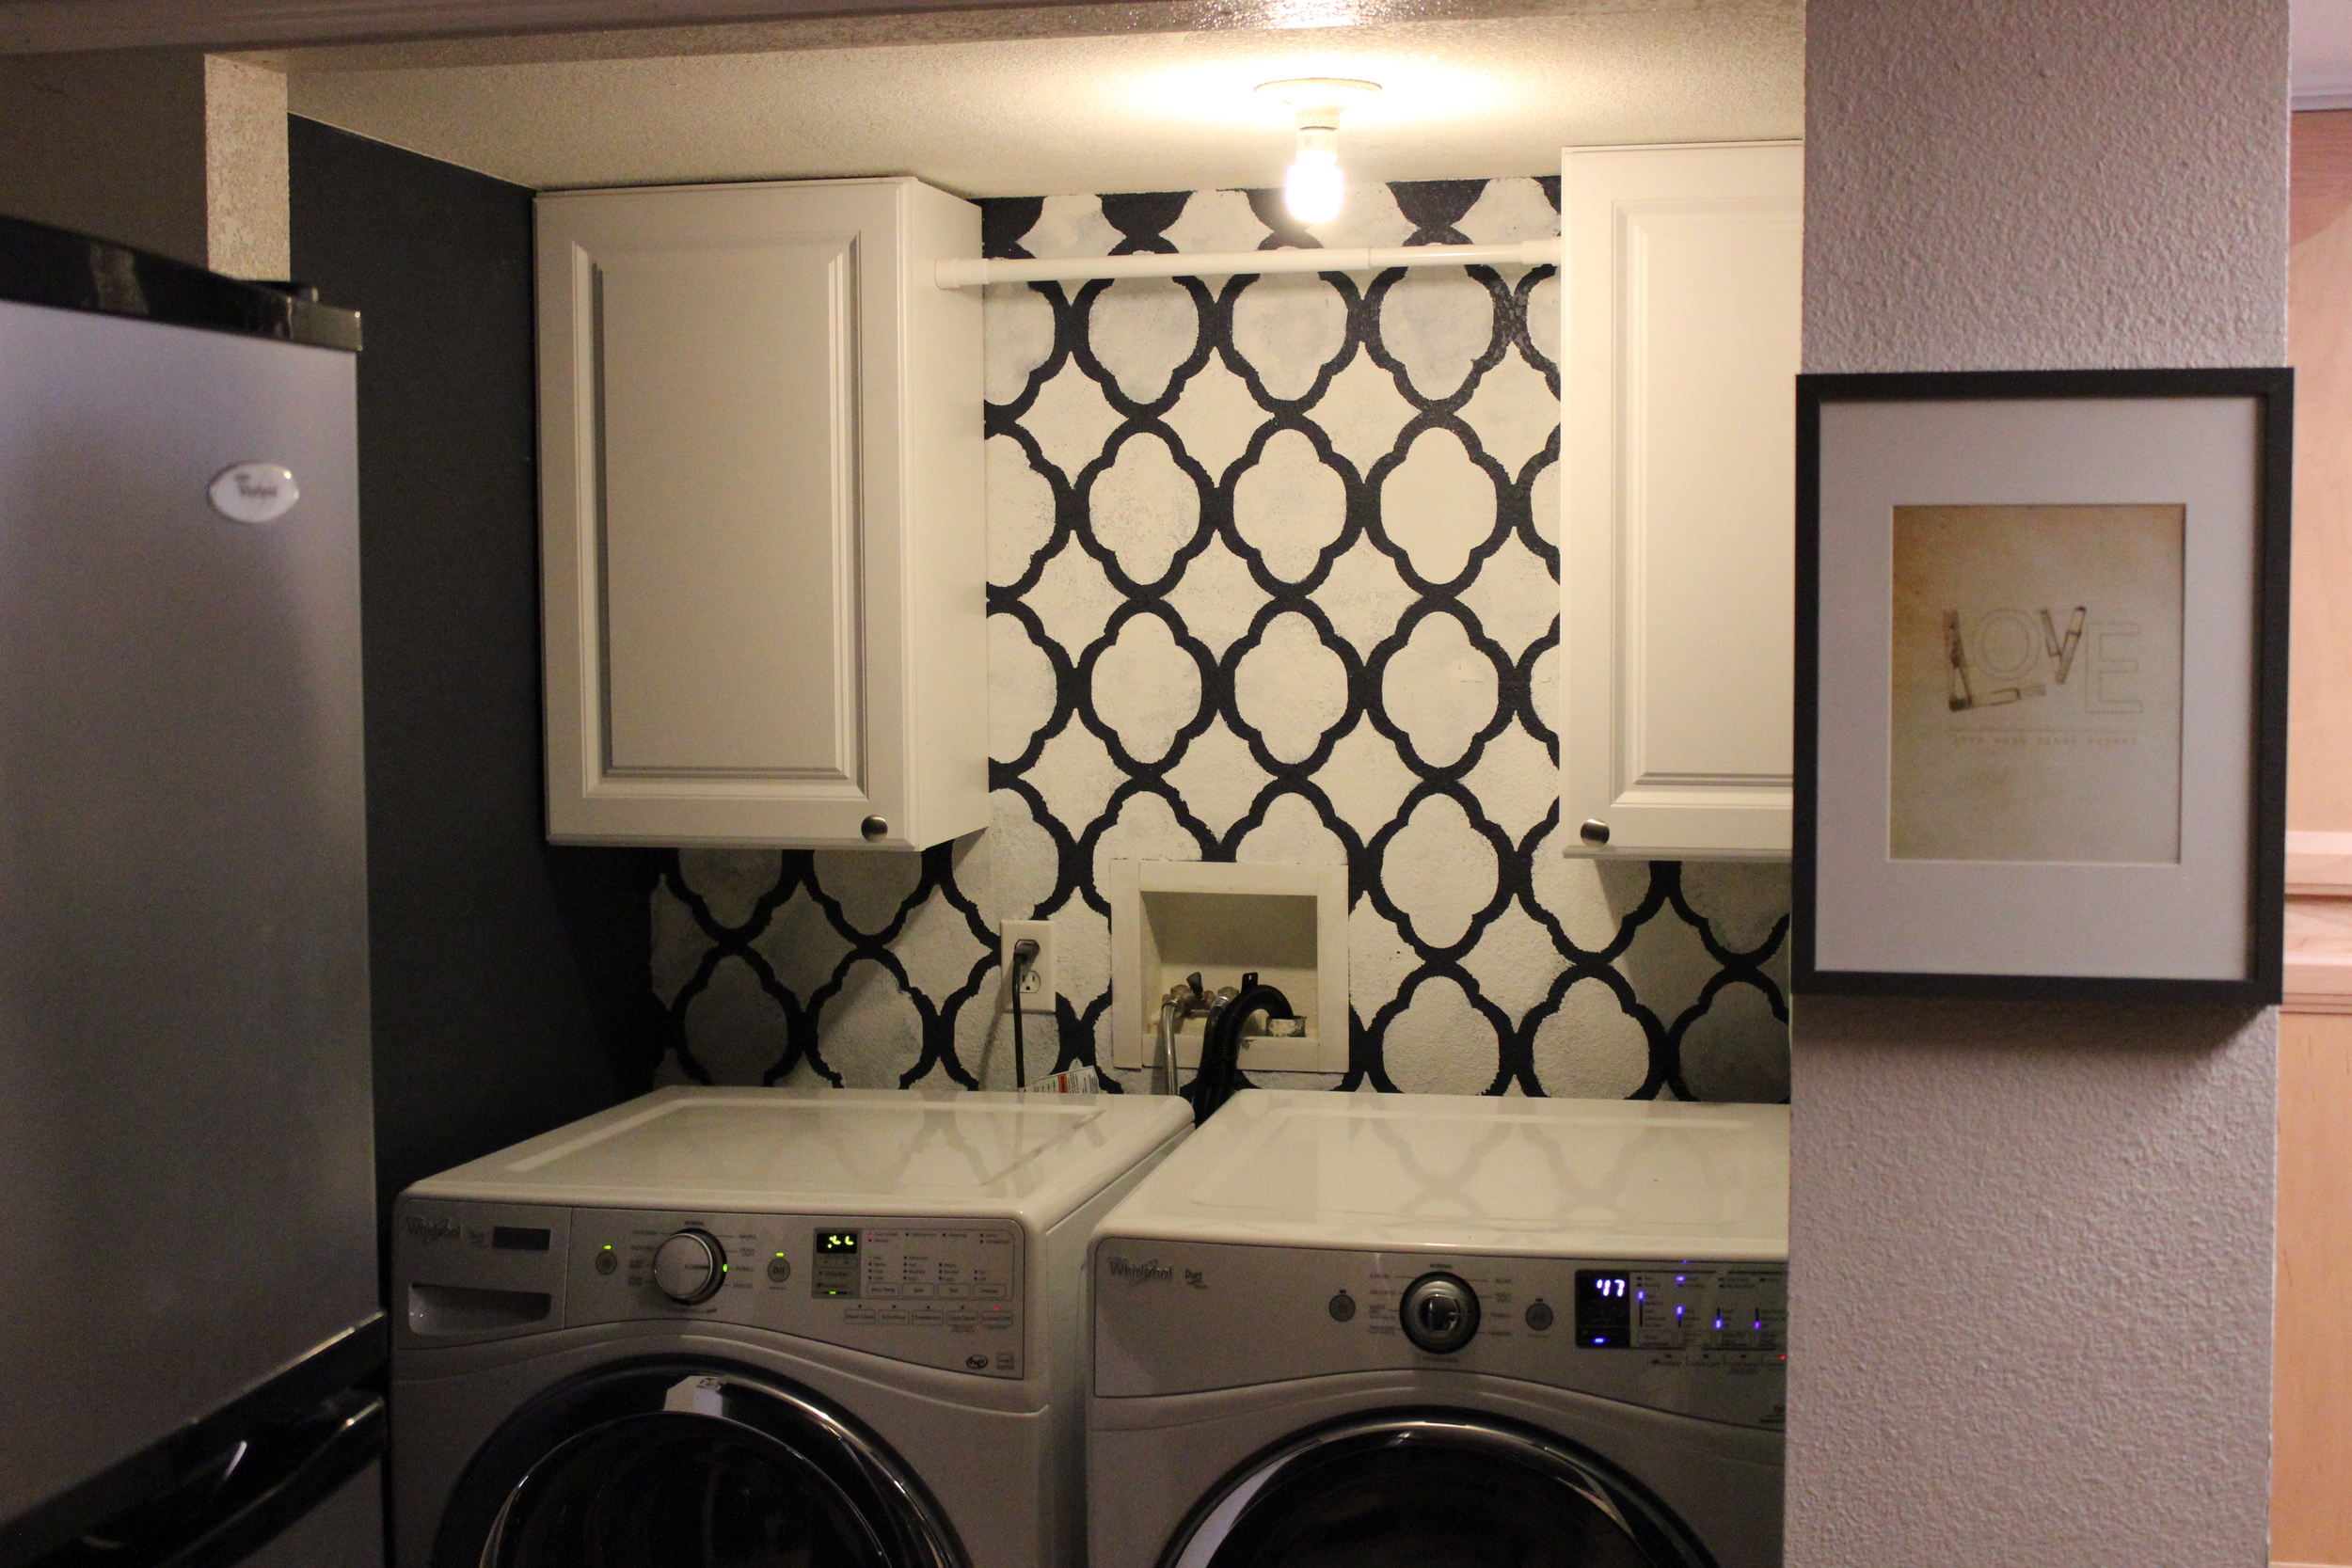
When we last left off it was looking like this: IMG_4252

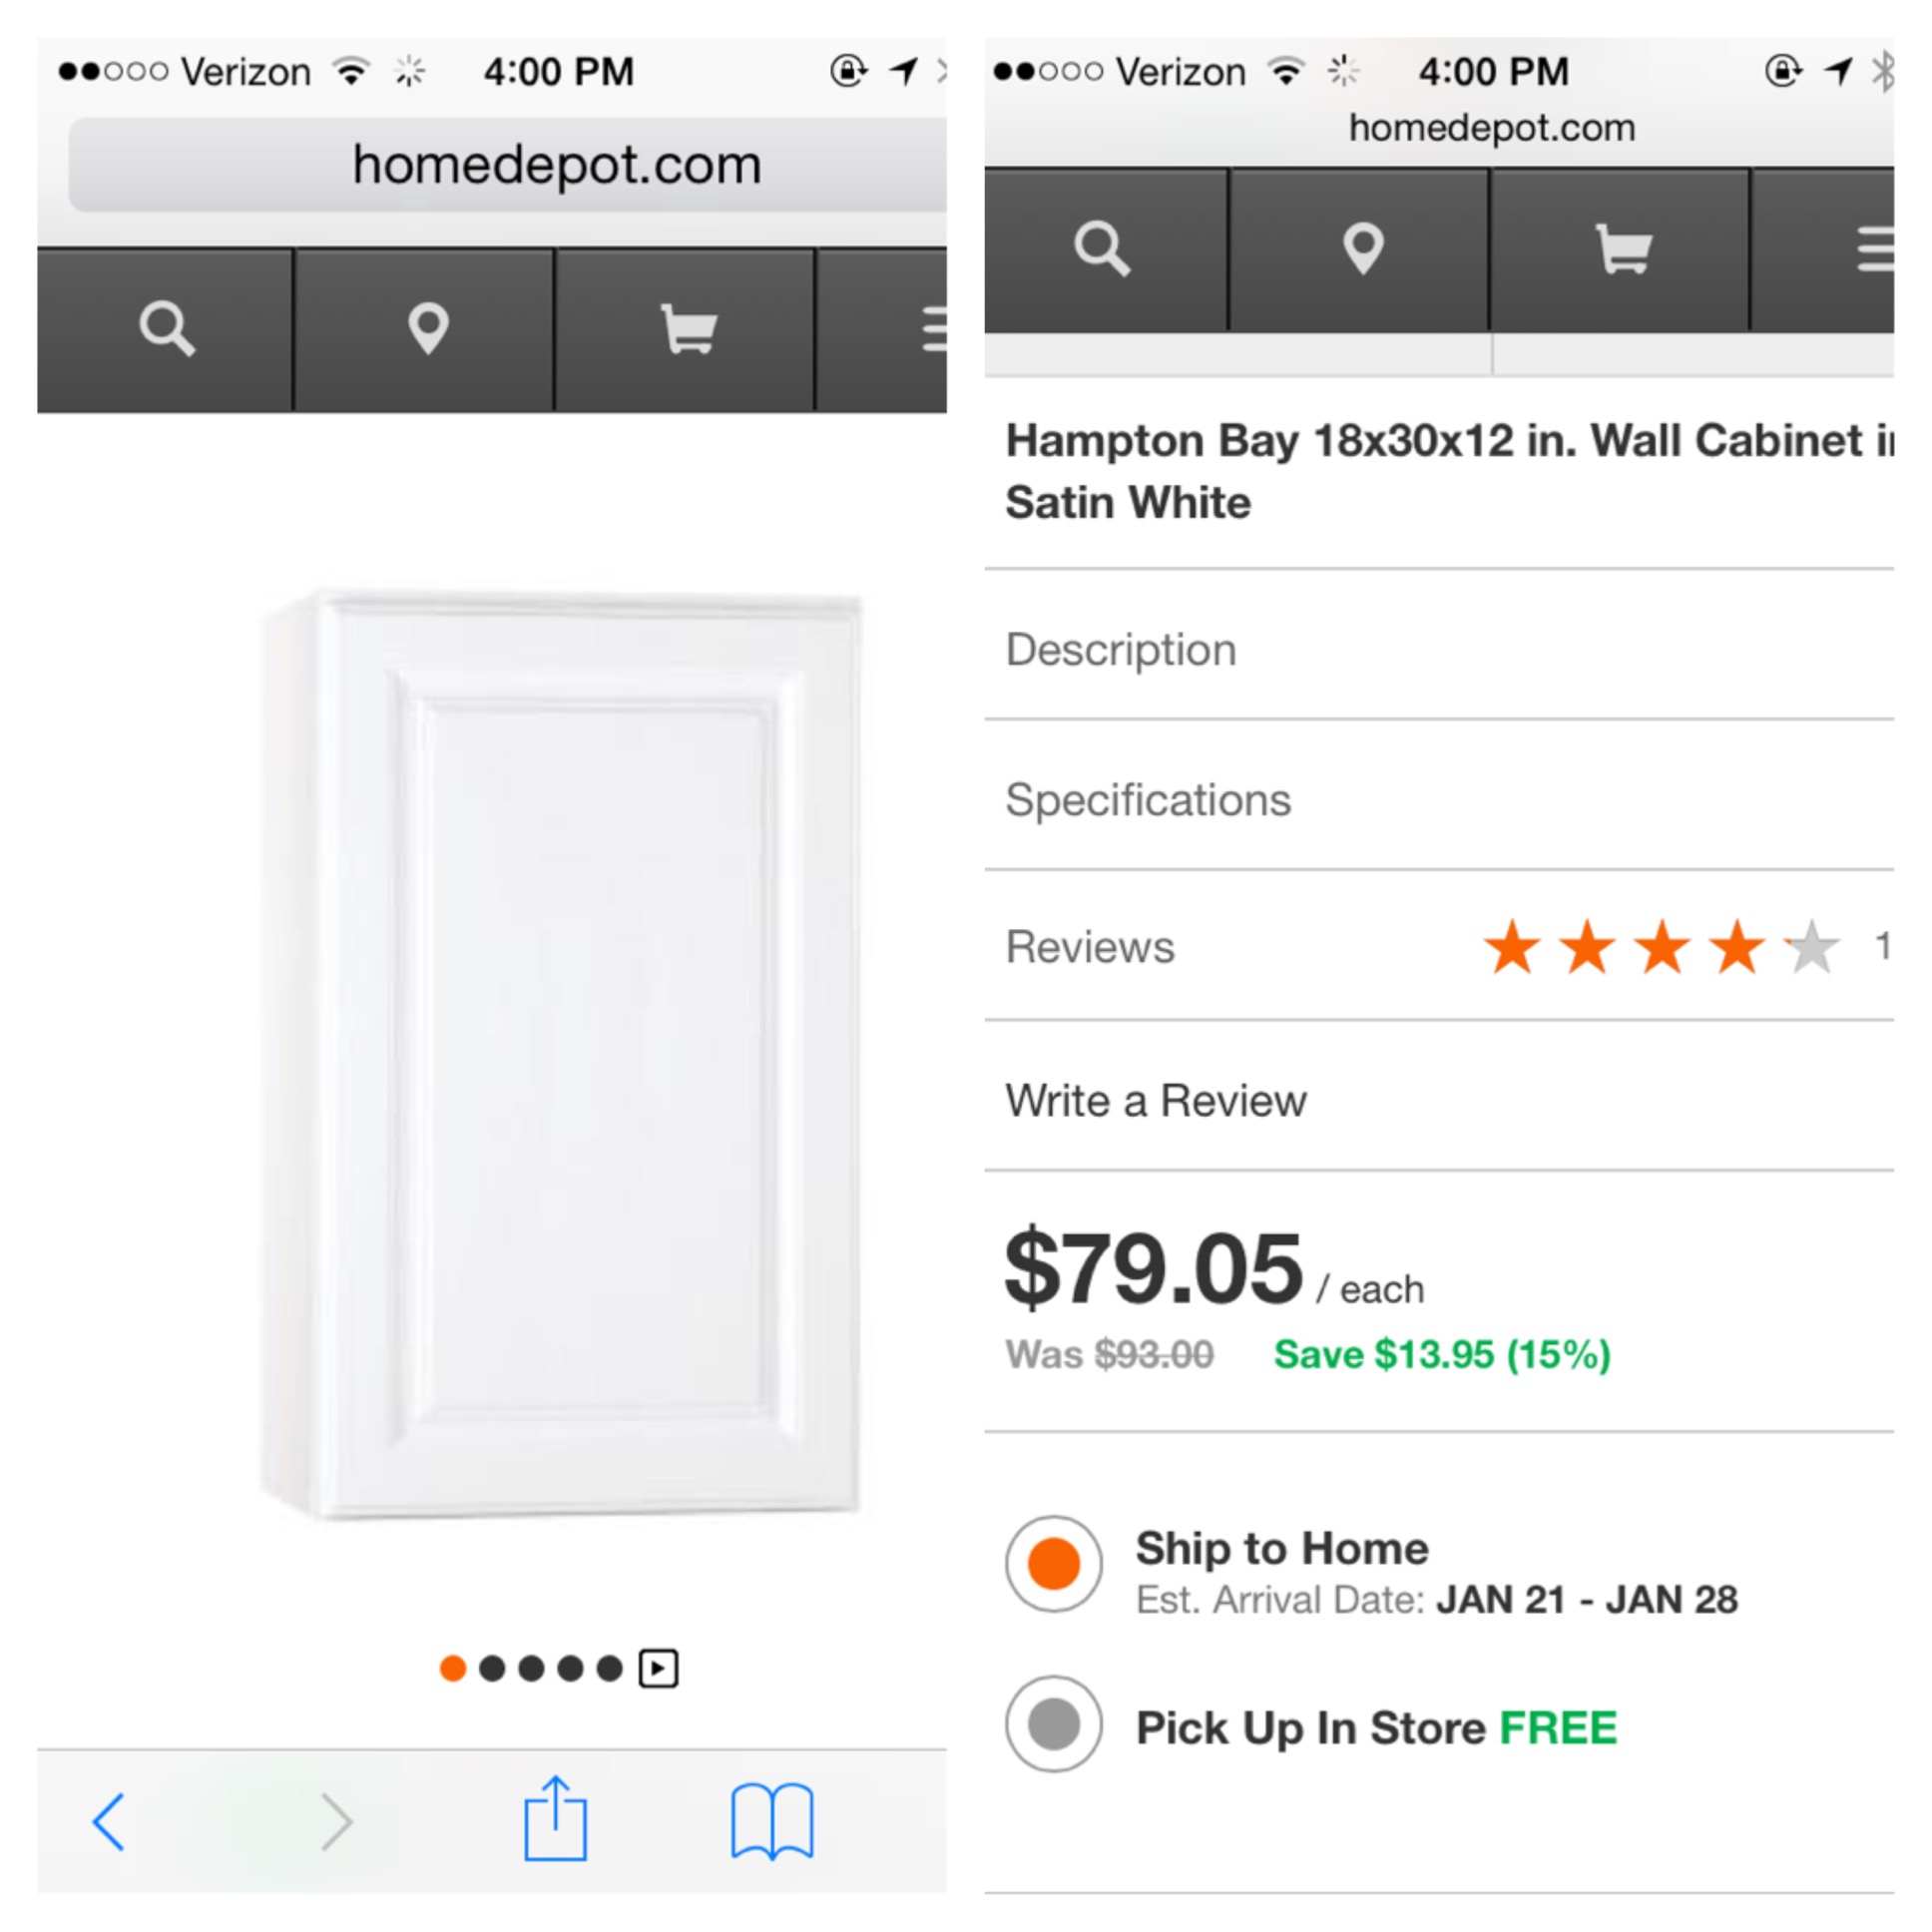
We still needed to change the light and add some minor storage adjustments. We did just that by making a trip to Home Depot, Container Store, and Amazon (if Amazon had a physical store that magically held all the things it holds online, I'd be in huge trouble).

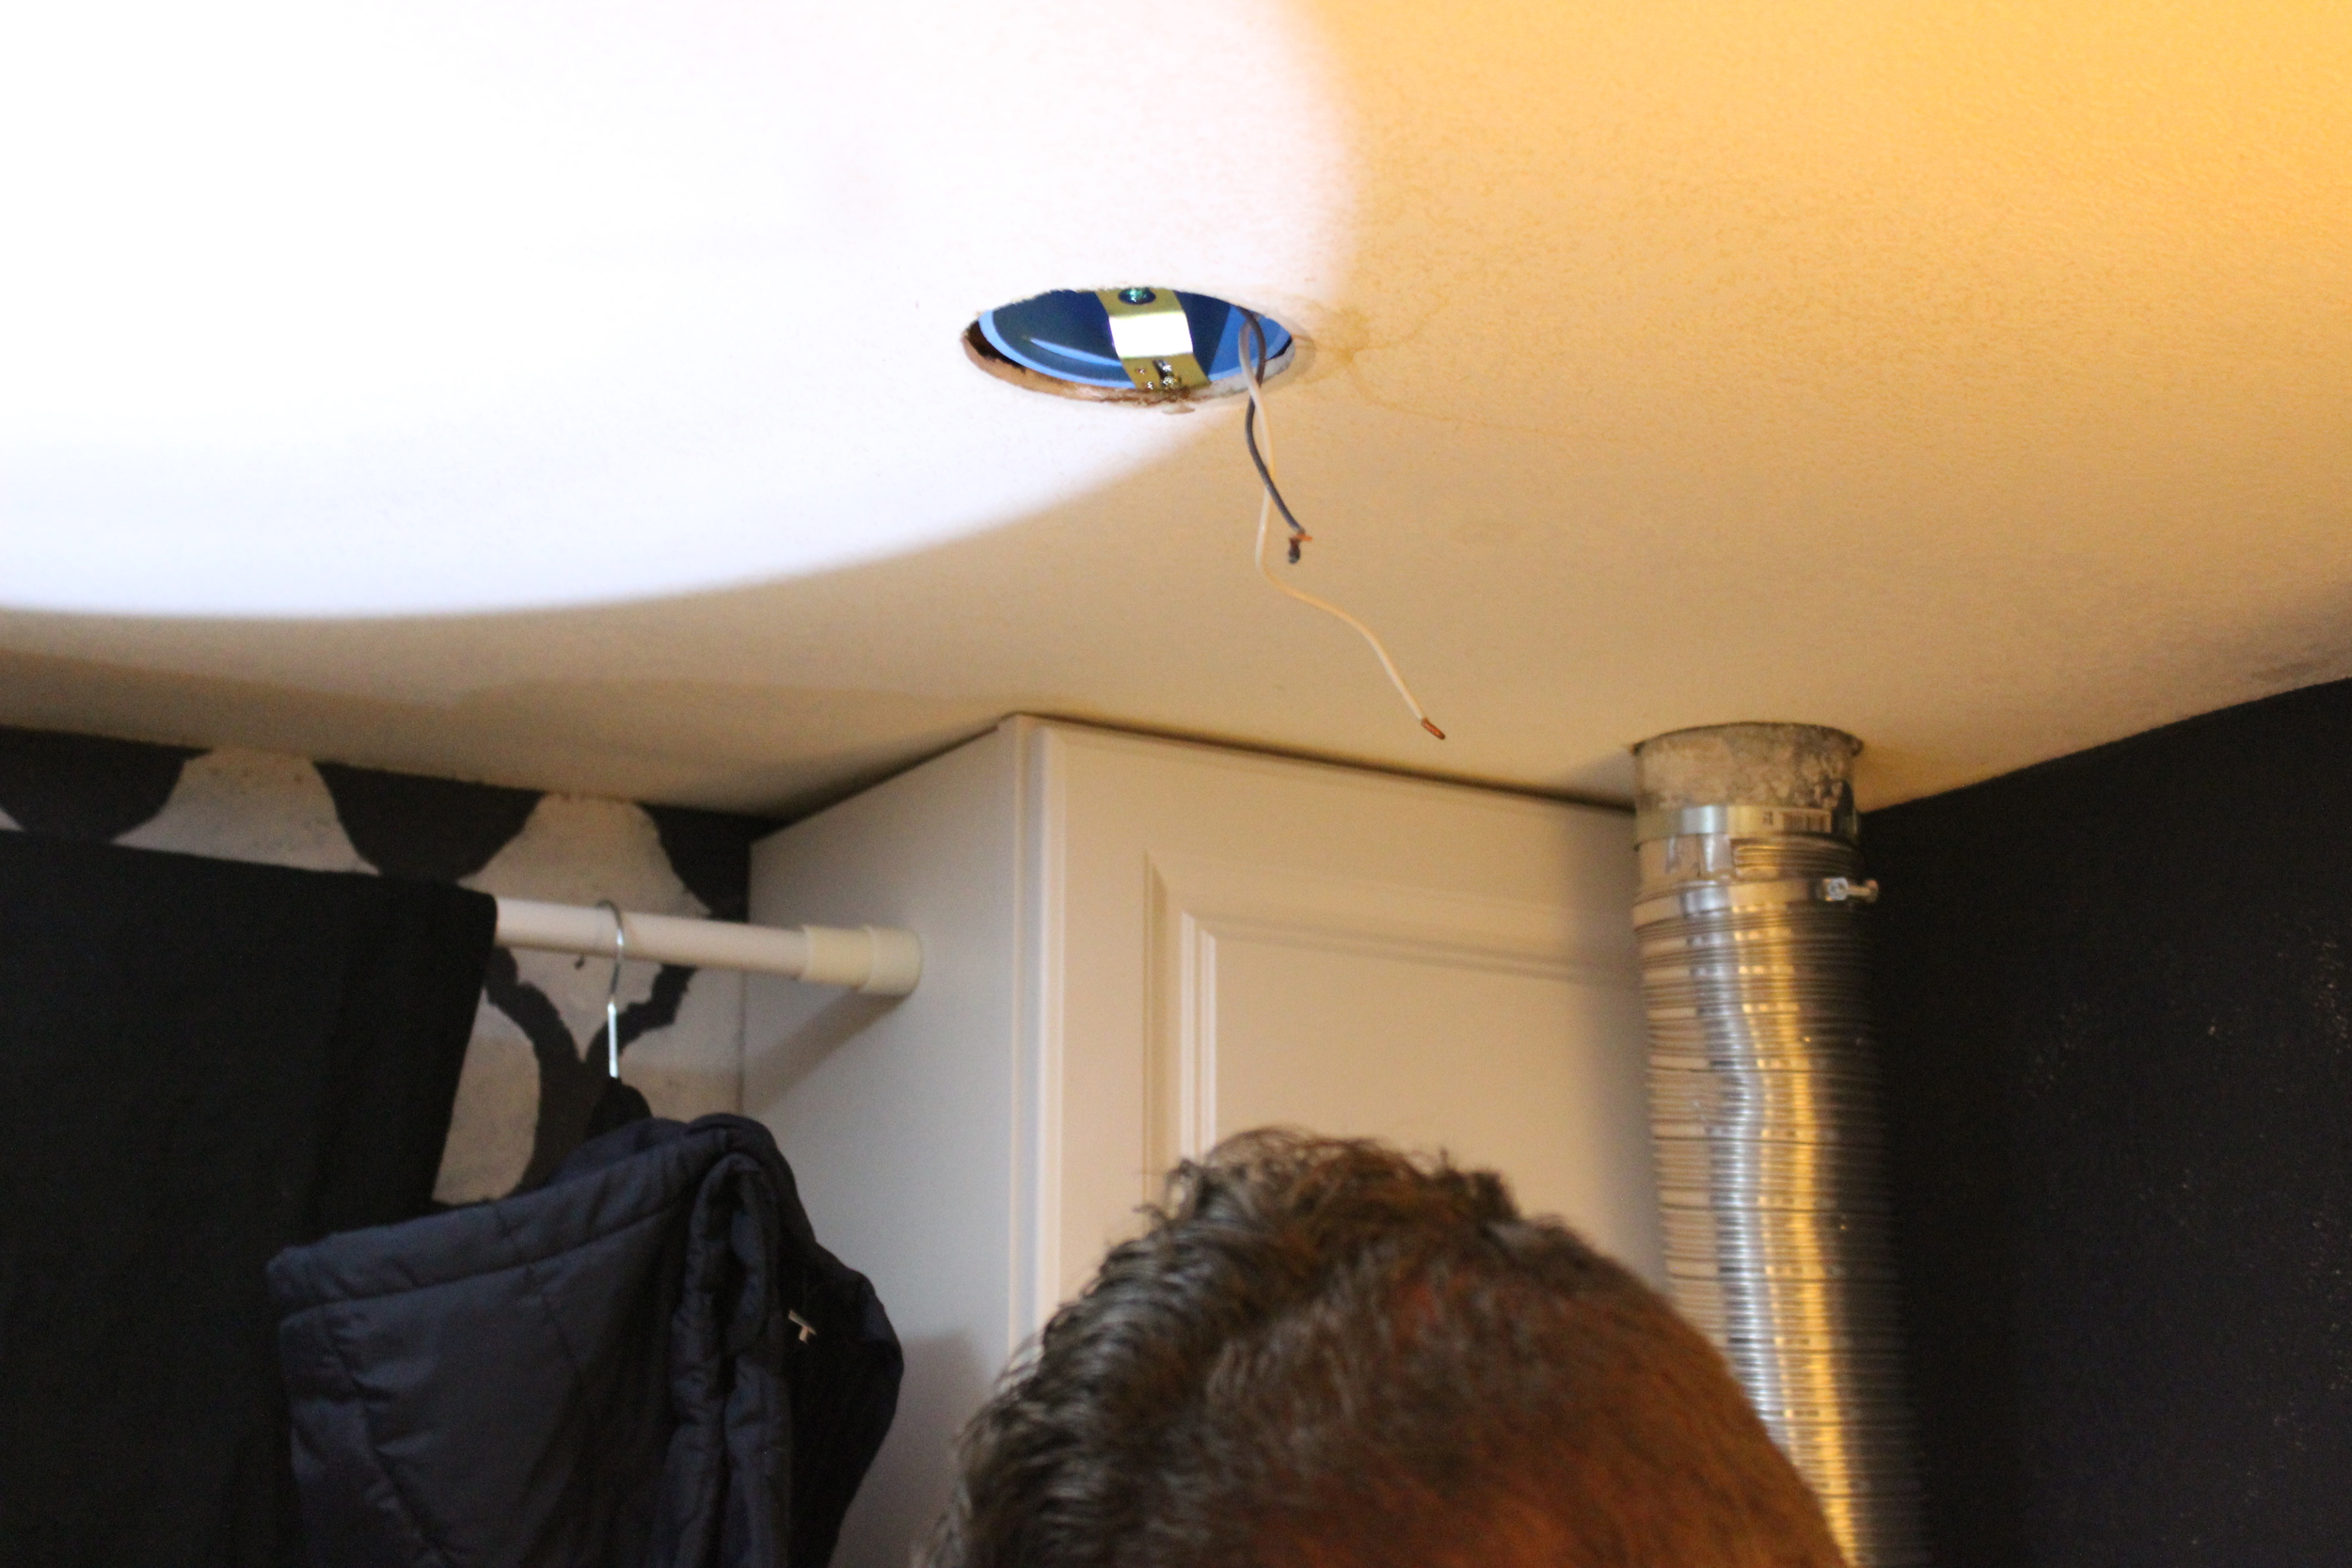
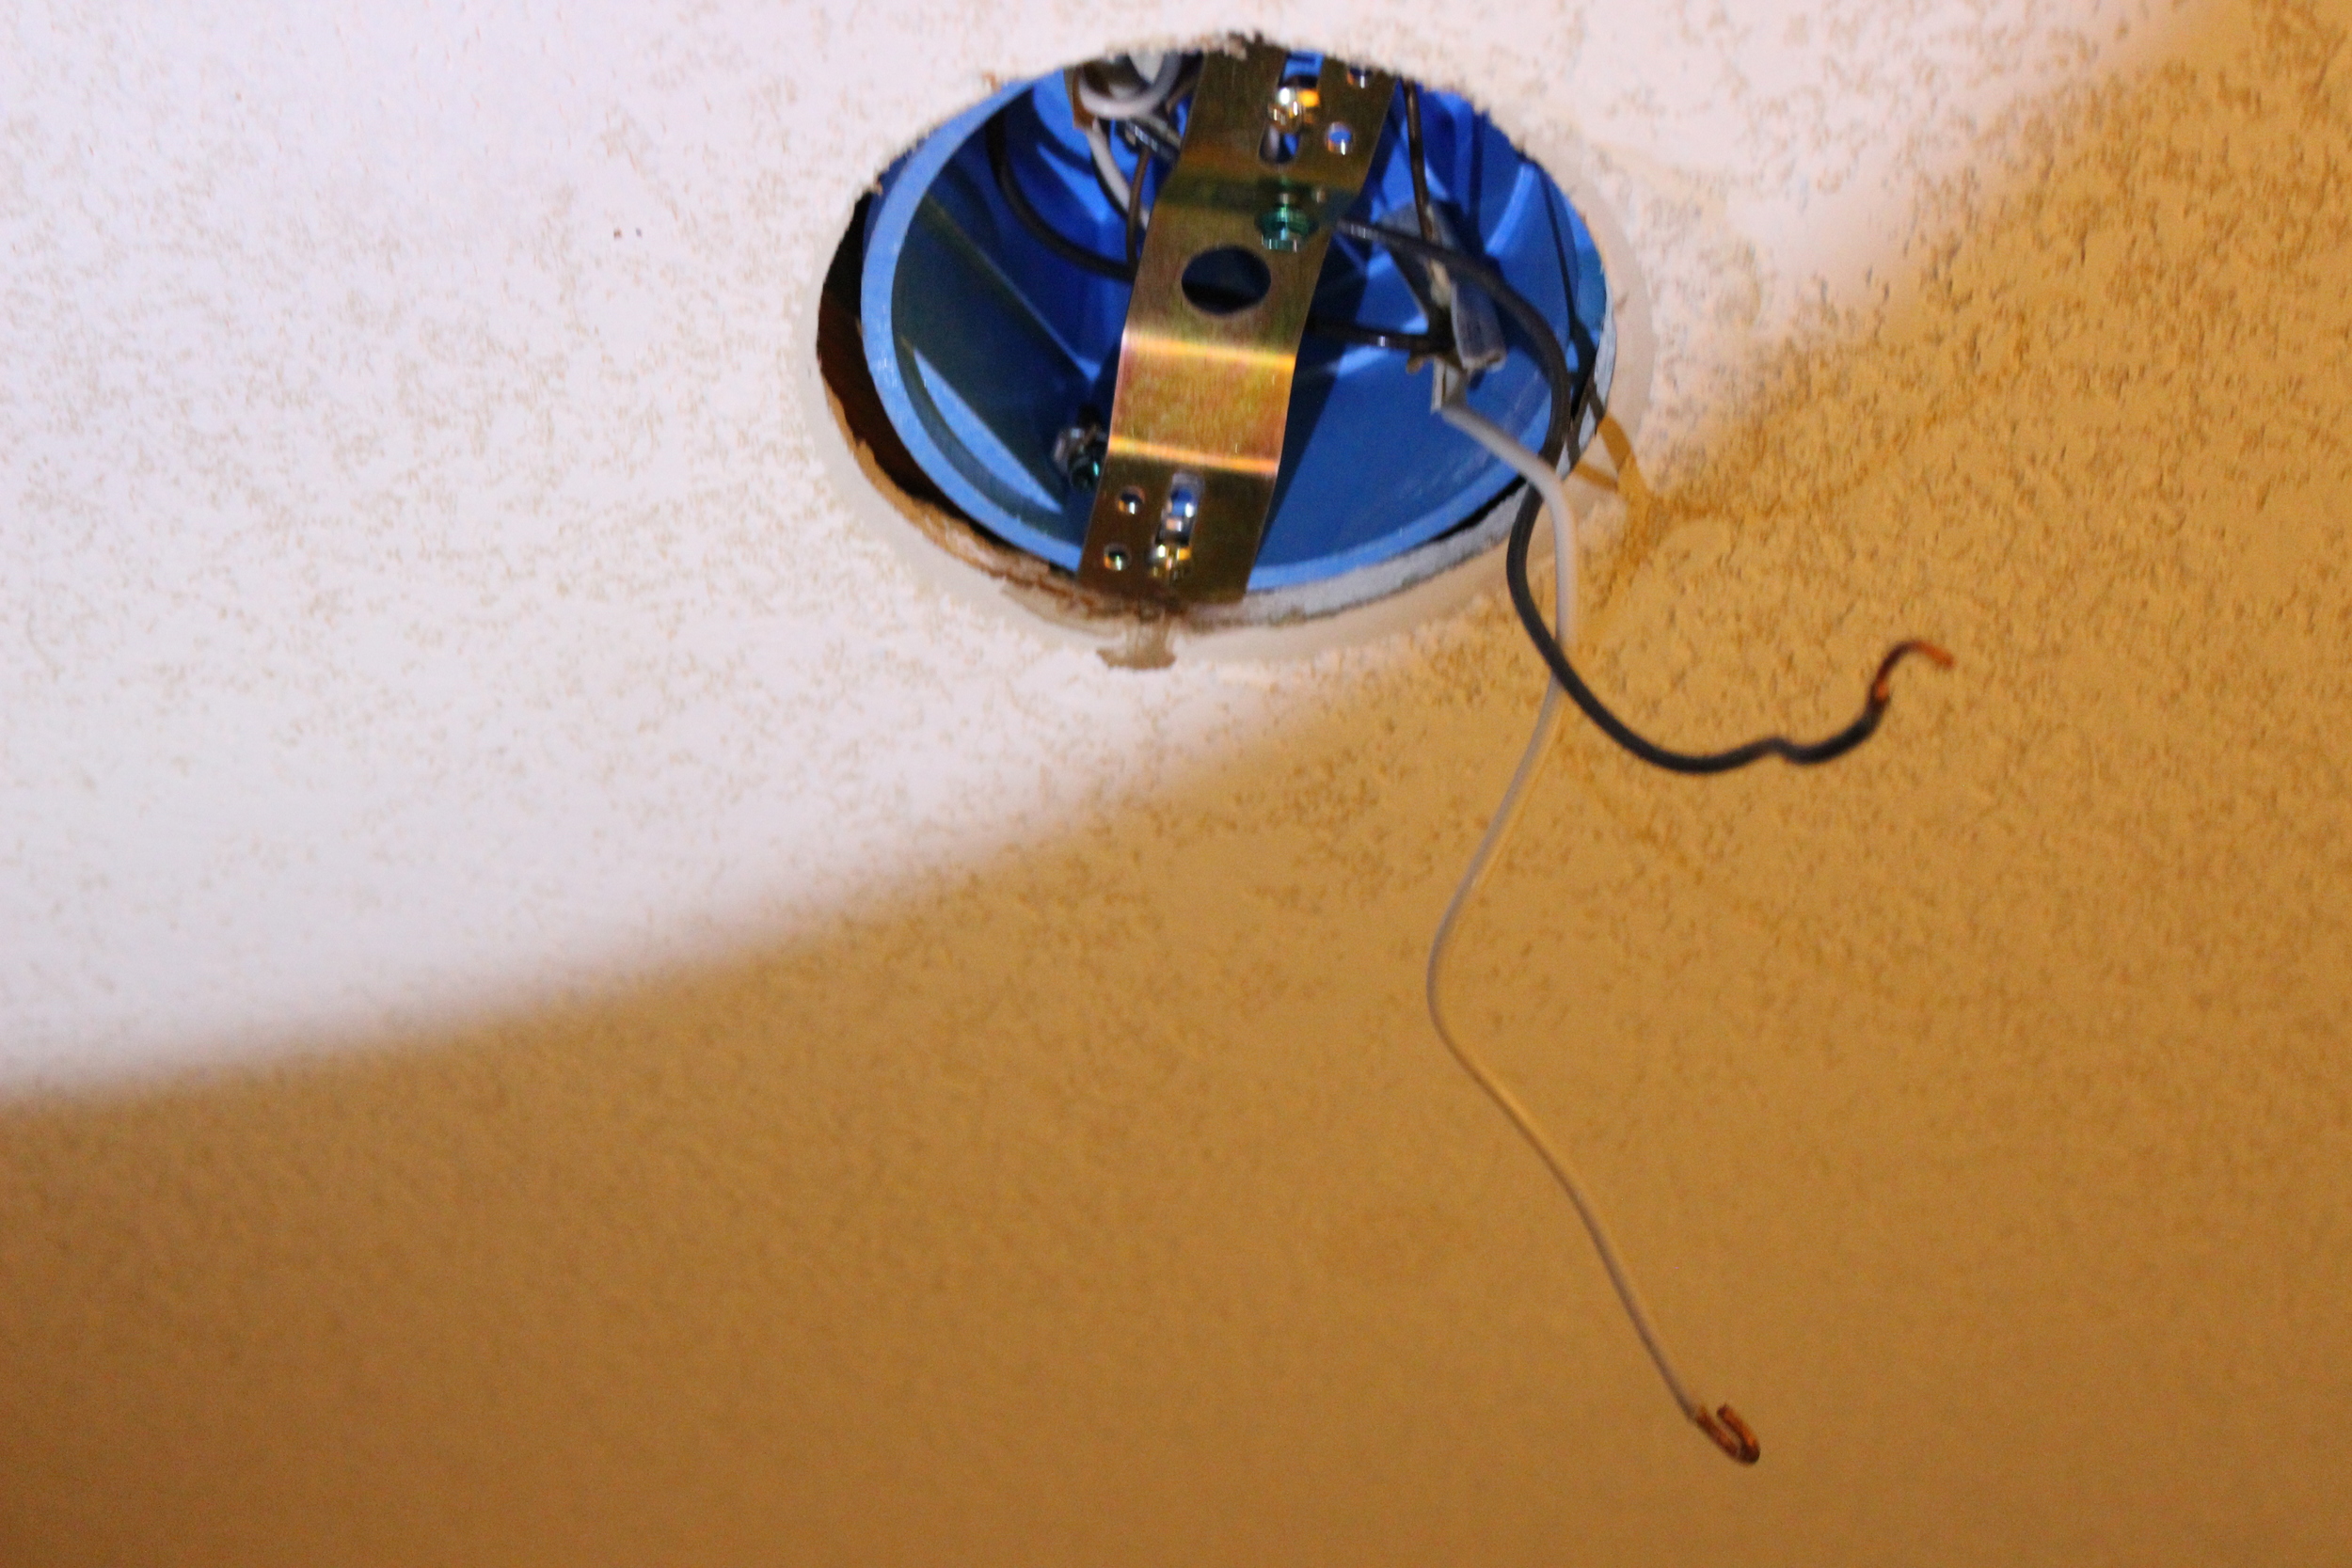
LB took down the old light bulb and got to work. I find his ability to do electrical updates fascinating because I don't know a DARN thing about it.

IMG_4258 IMG_4259 IMG_4263

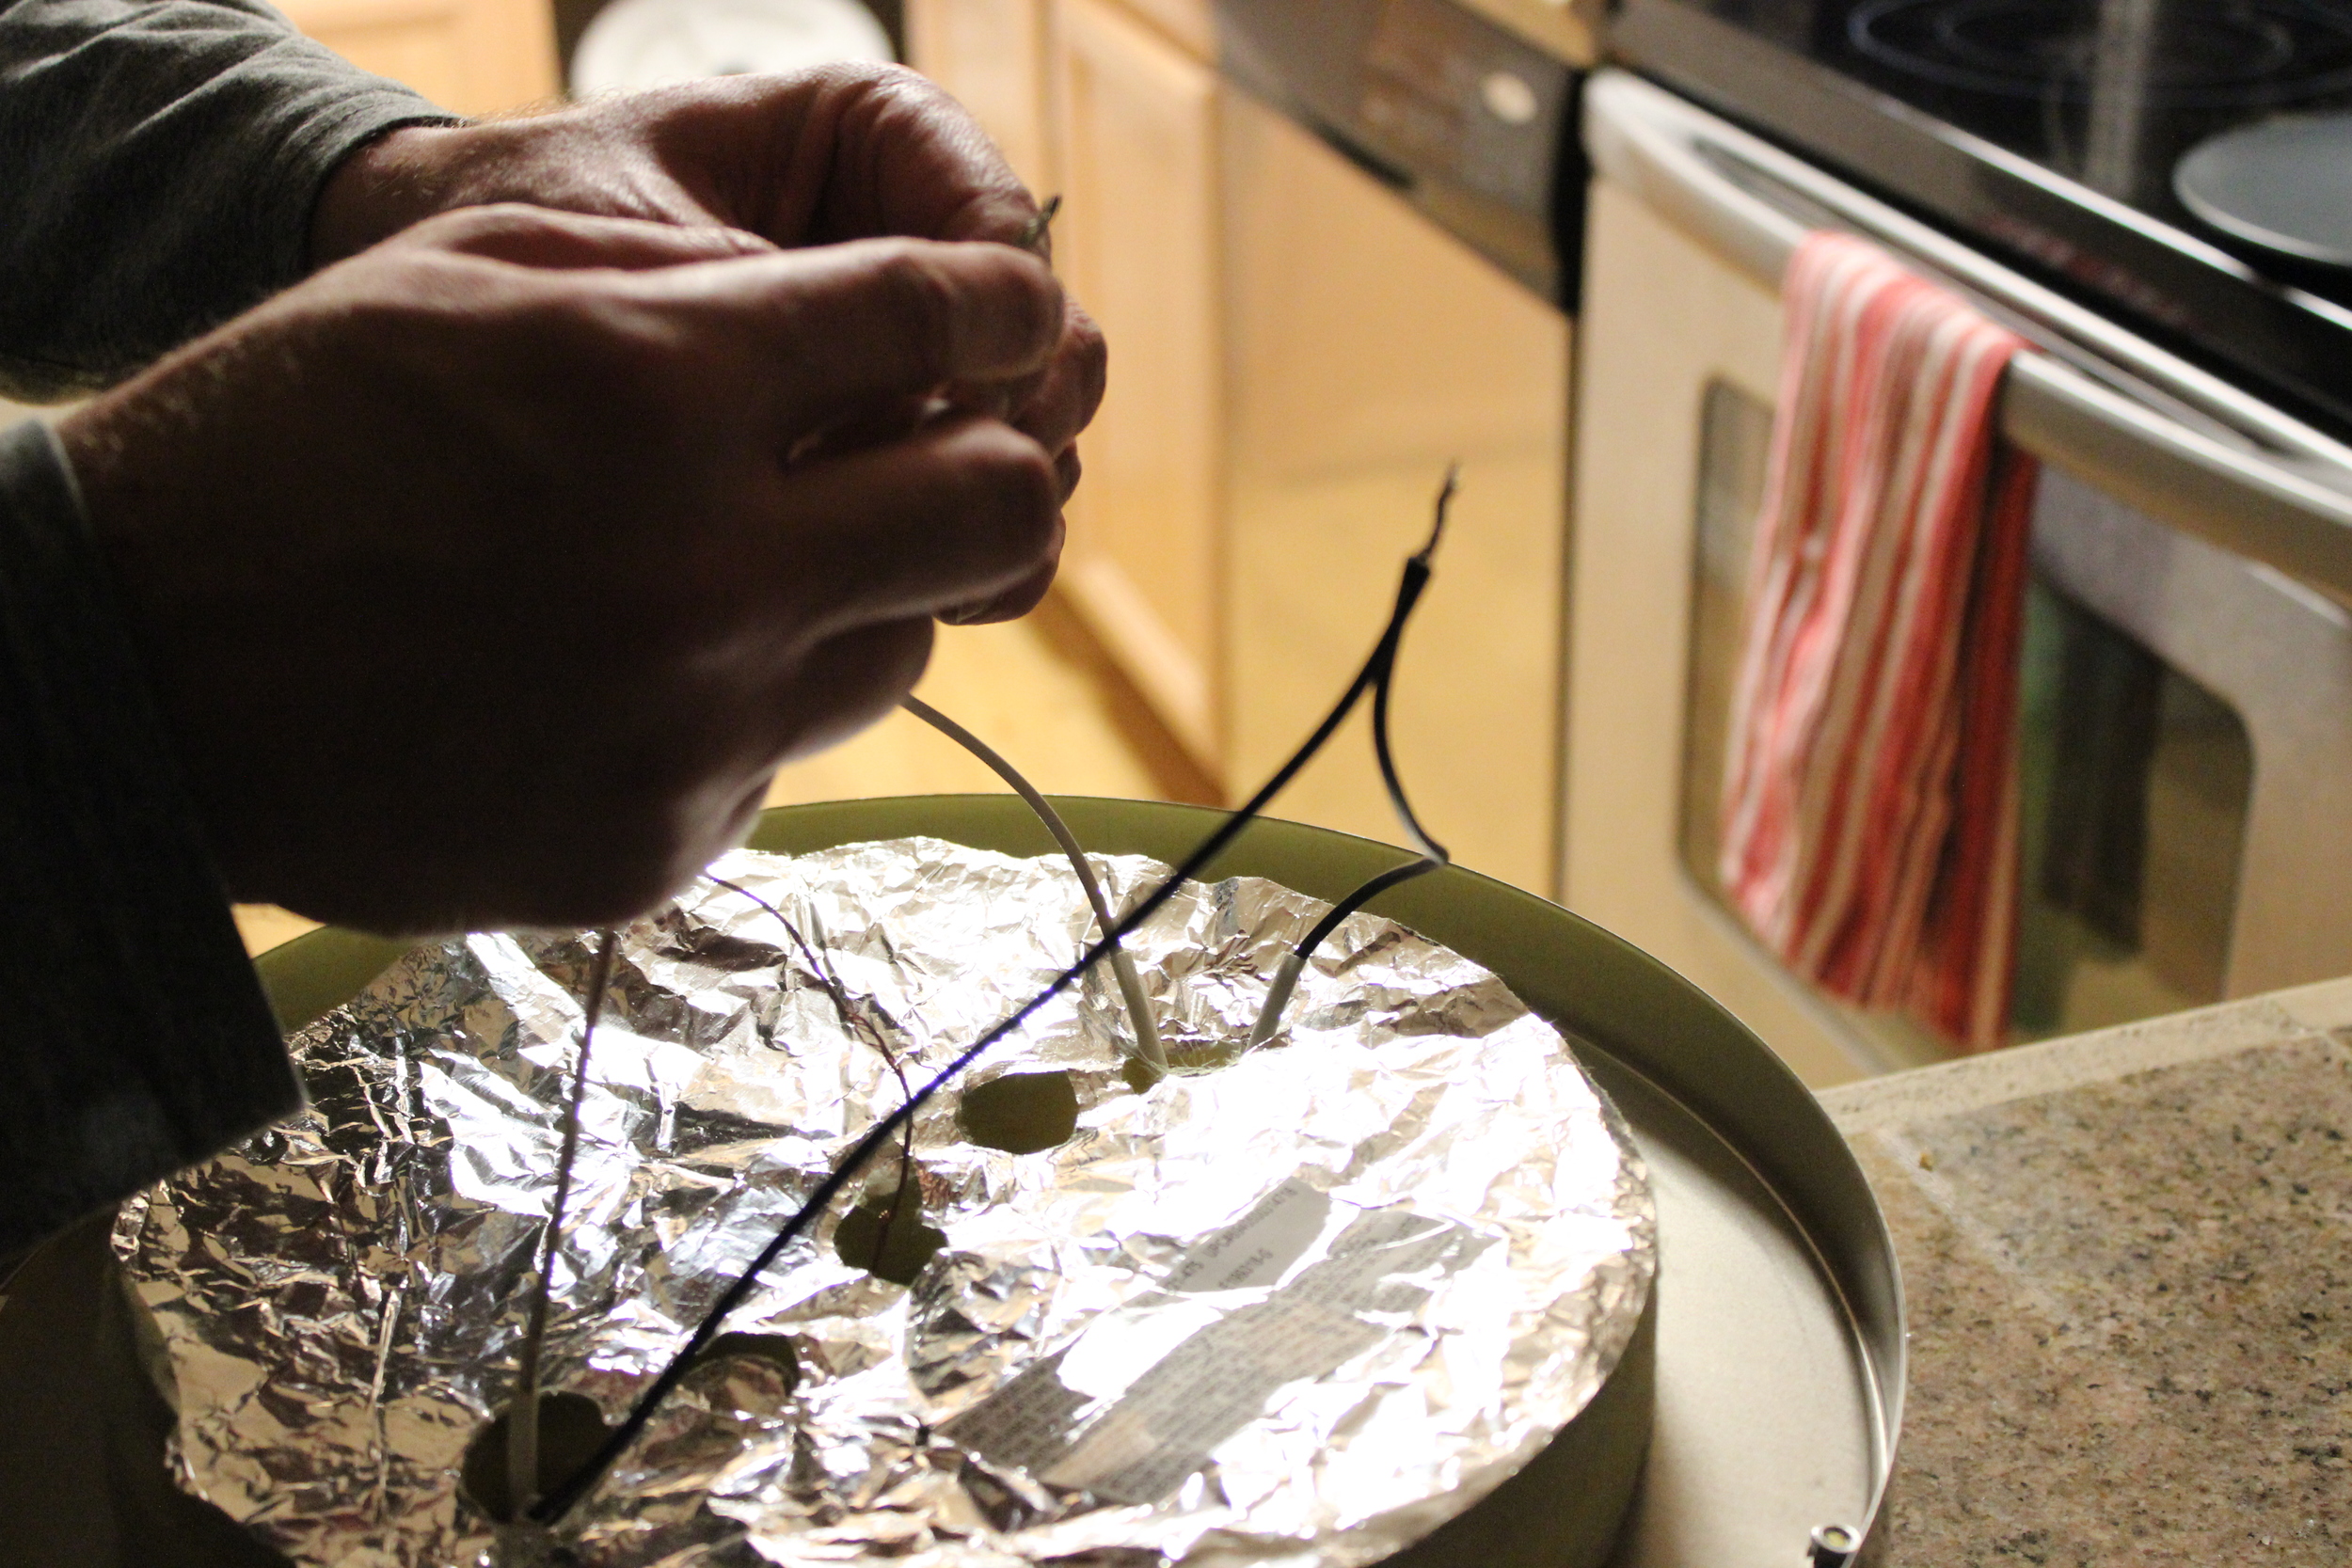
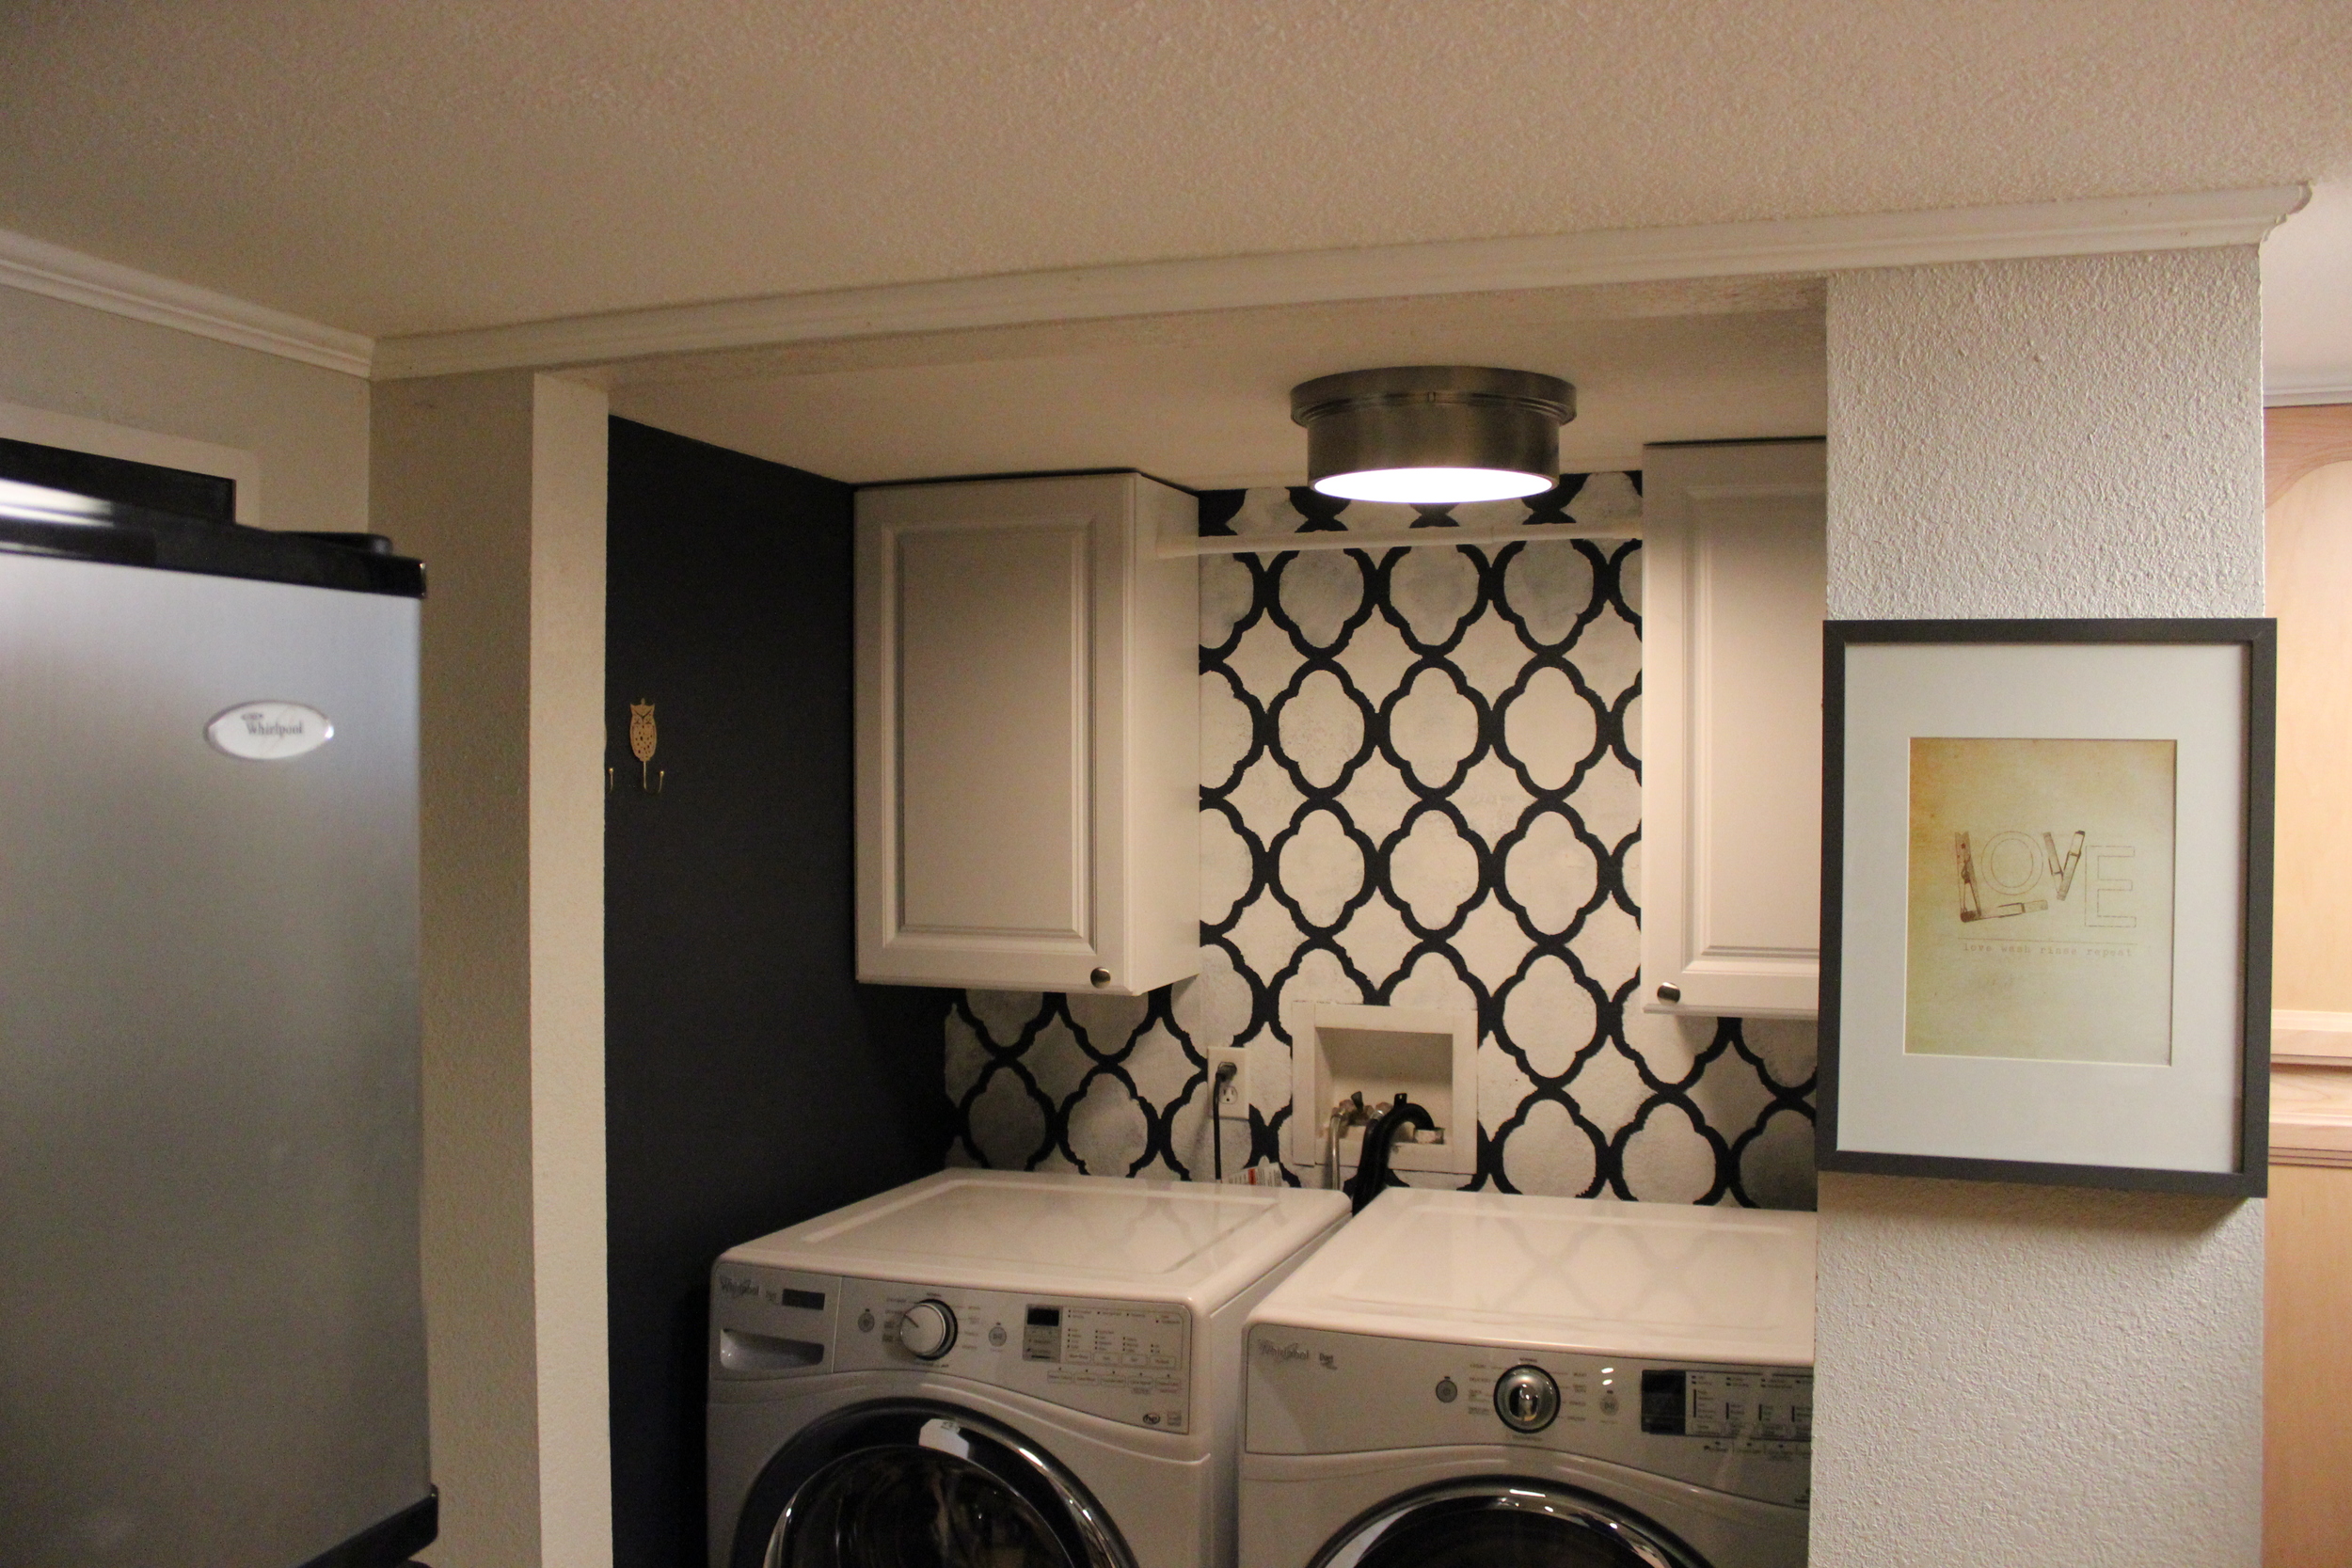
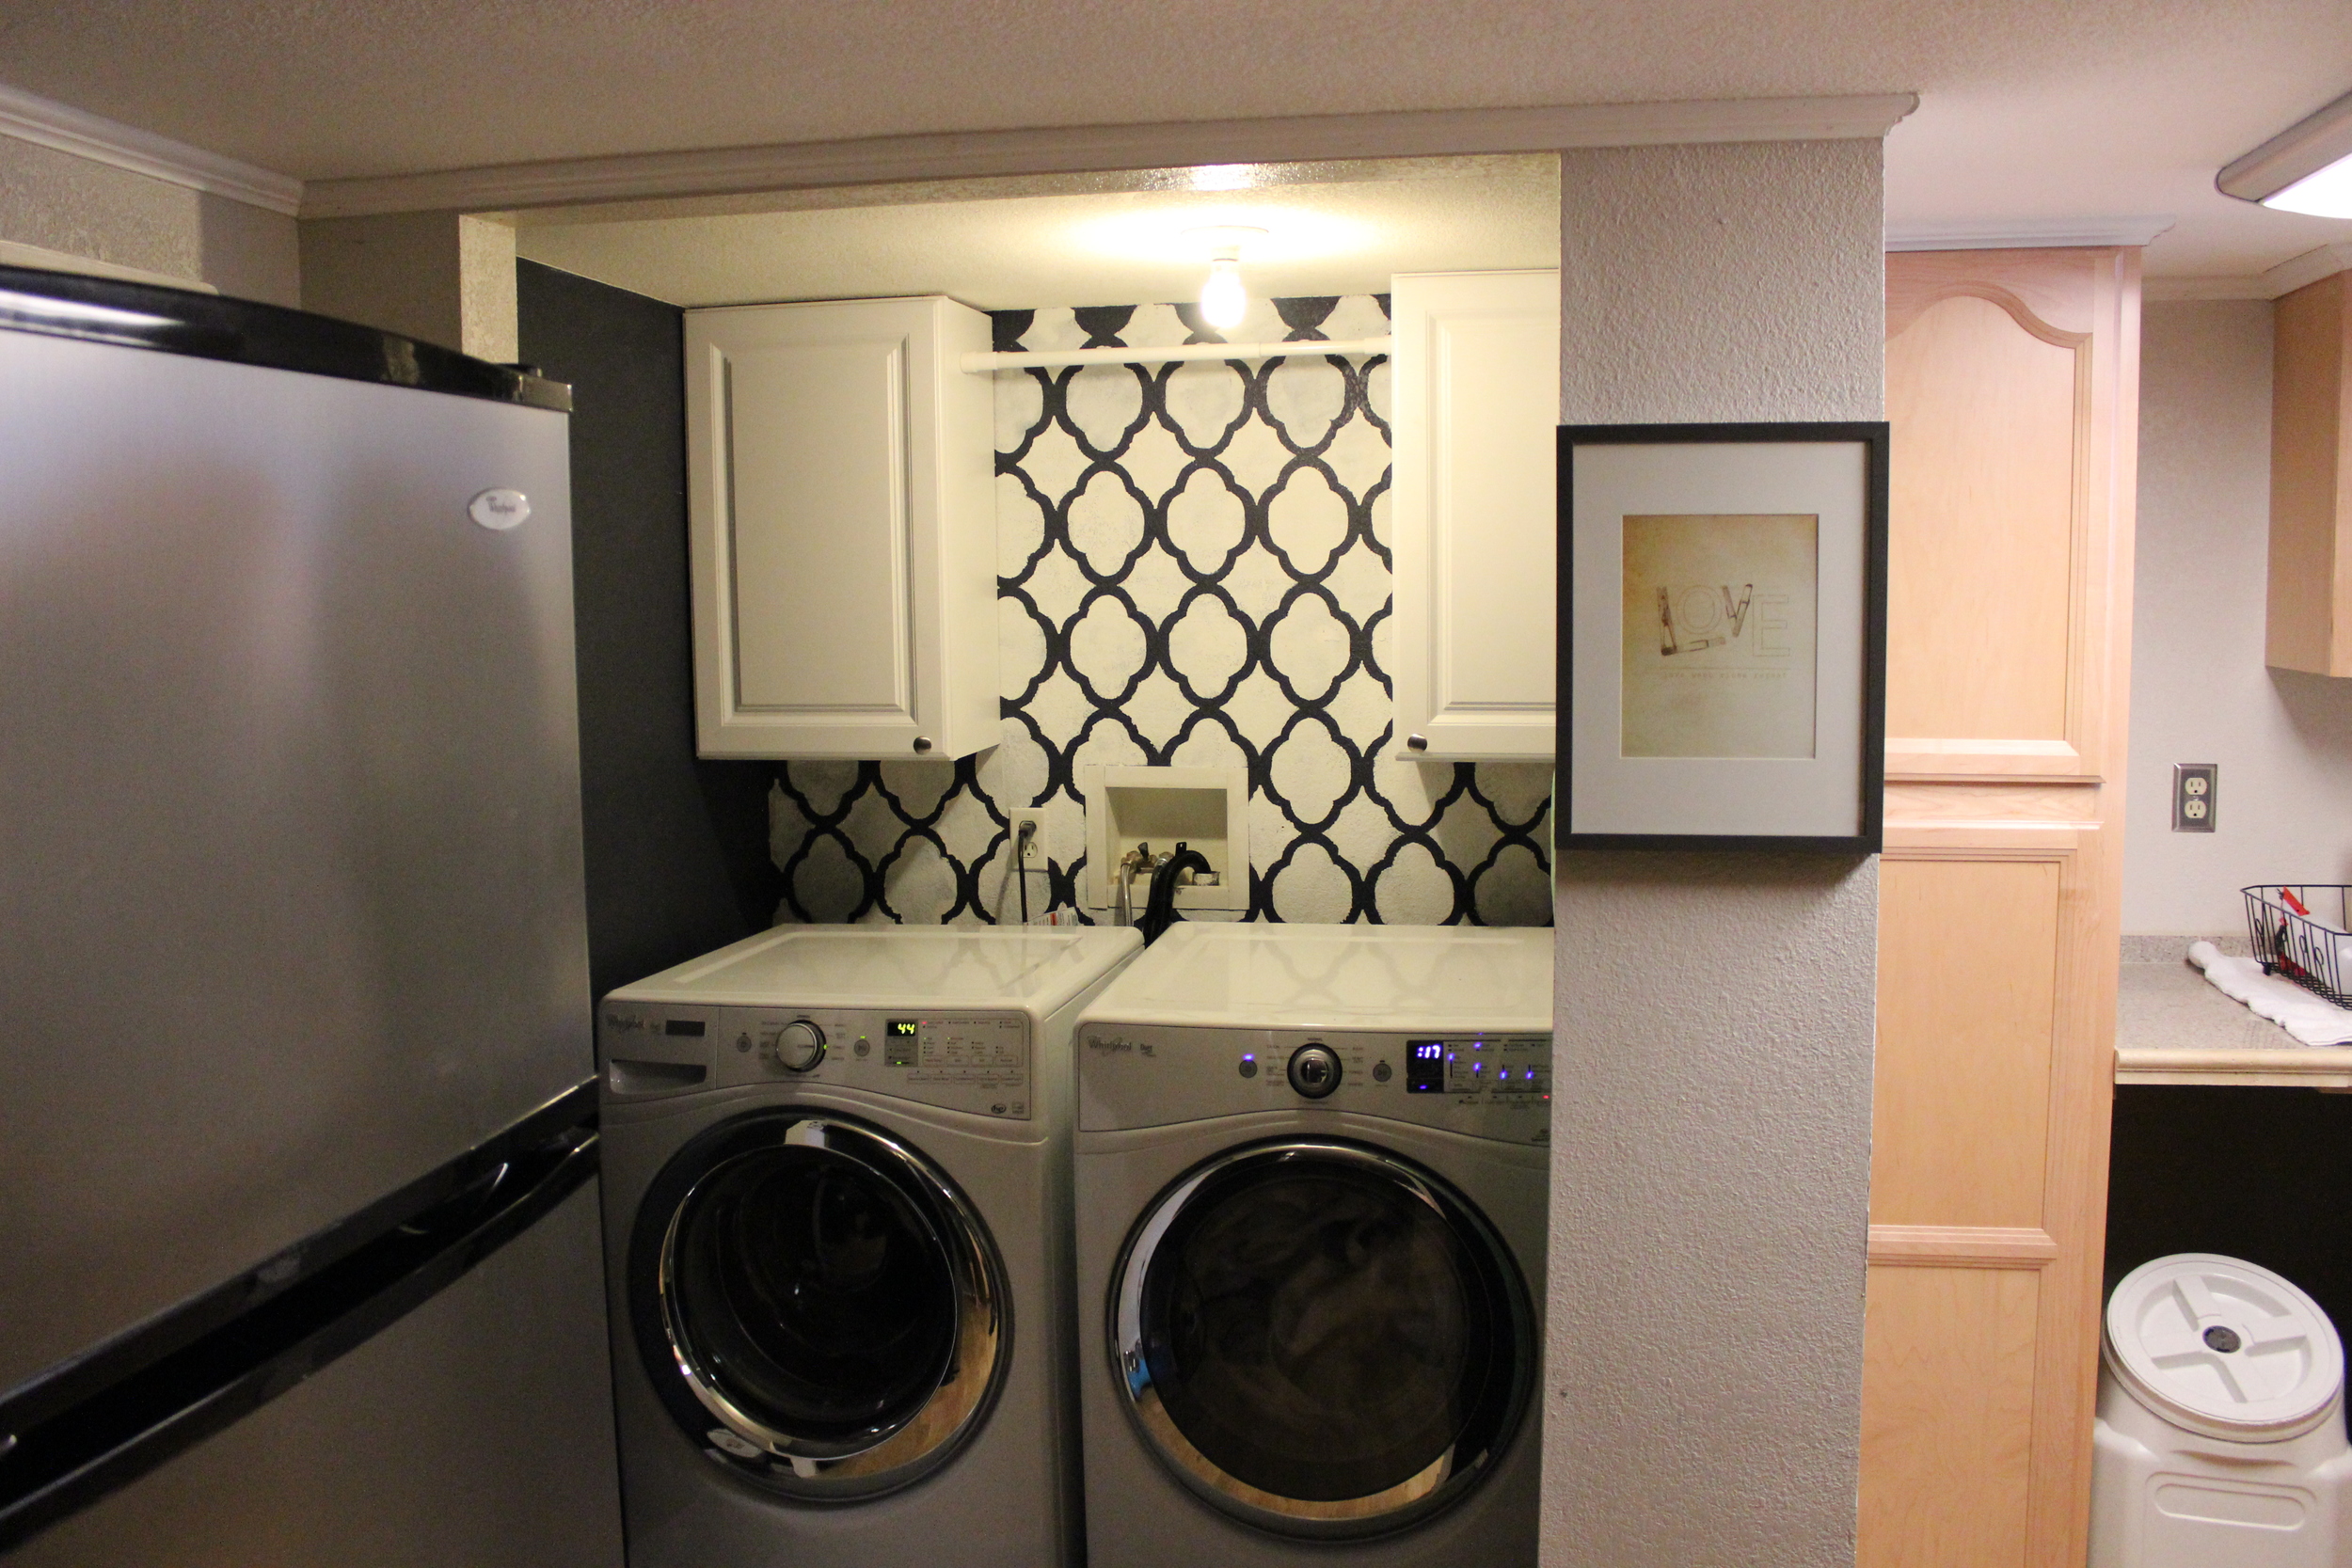
And voila. Light from Home Depot installed. This thing had a ton of padding in the light as you can see above, so getting it up there and turned into place was not easy. (Read: LB did it).IMG_4266

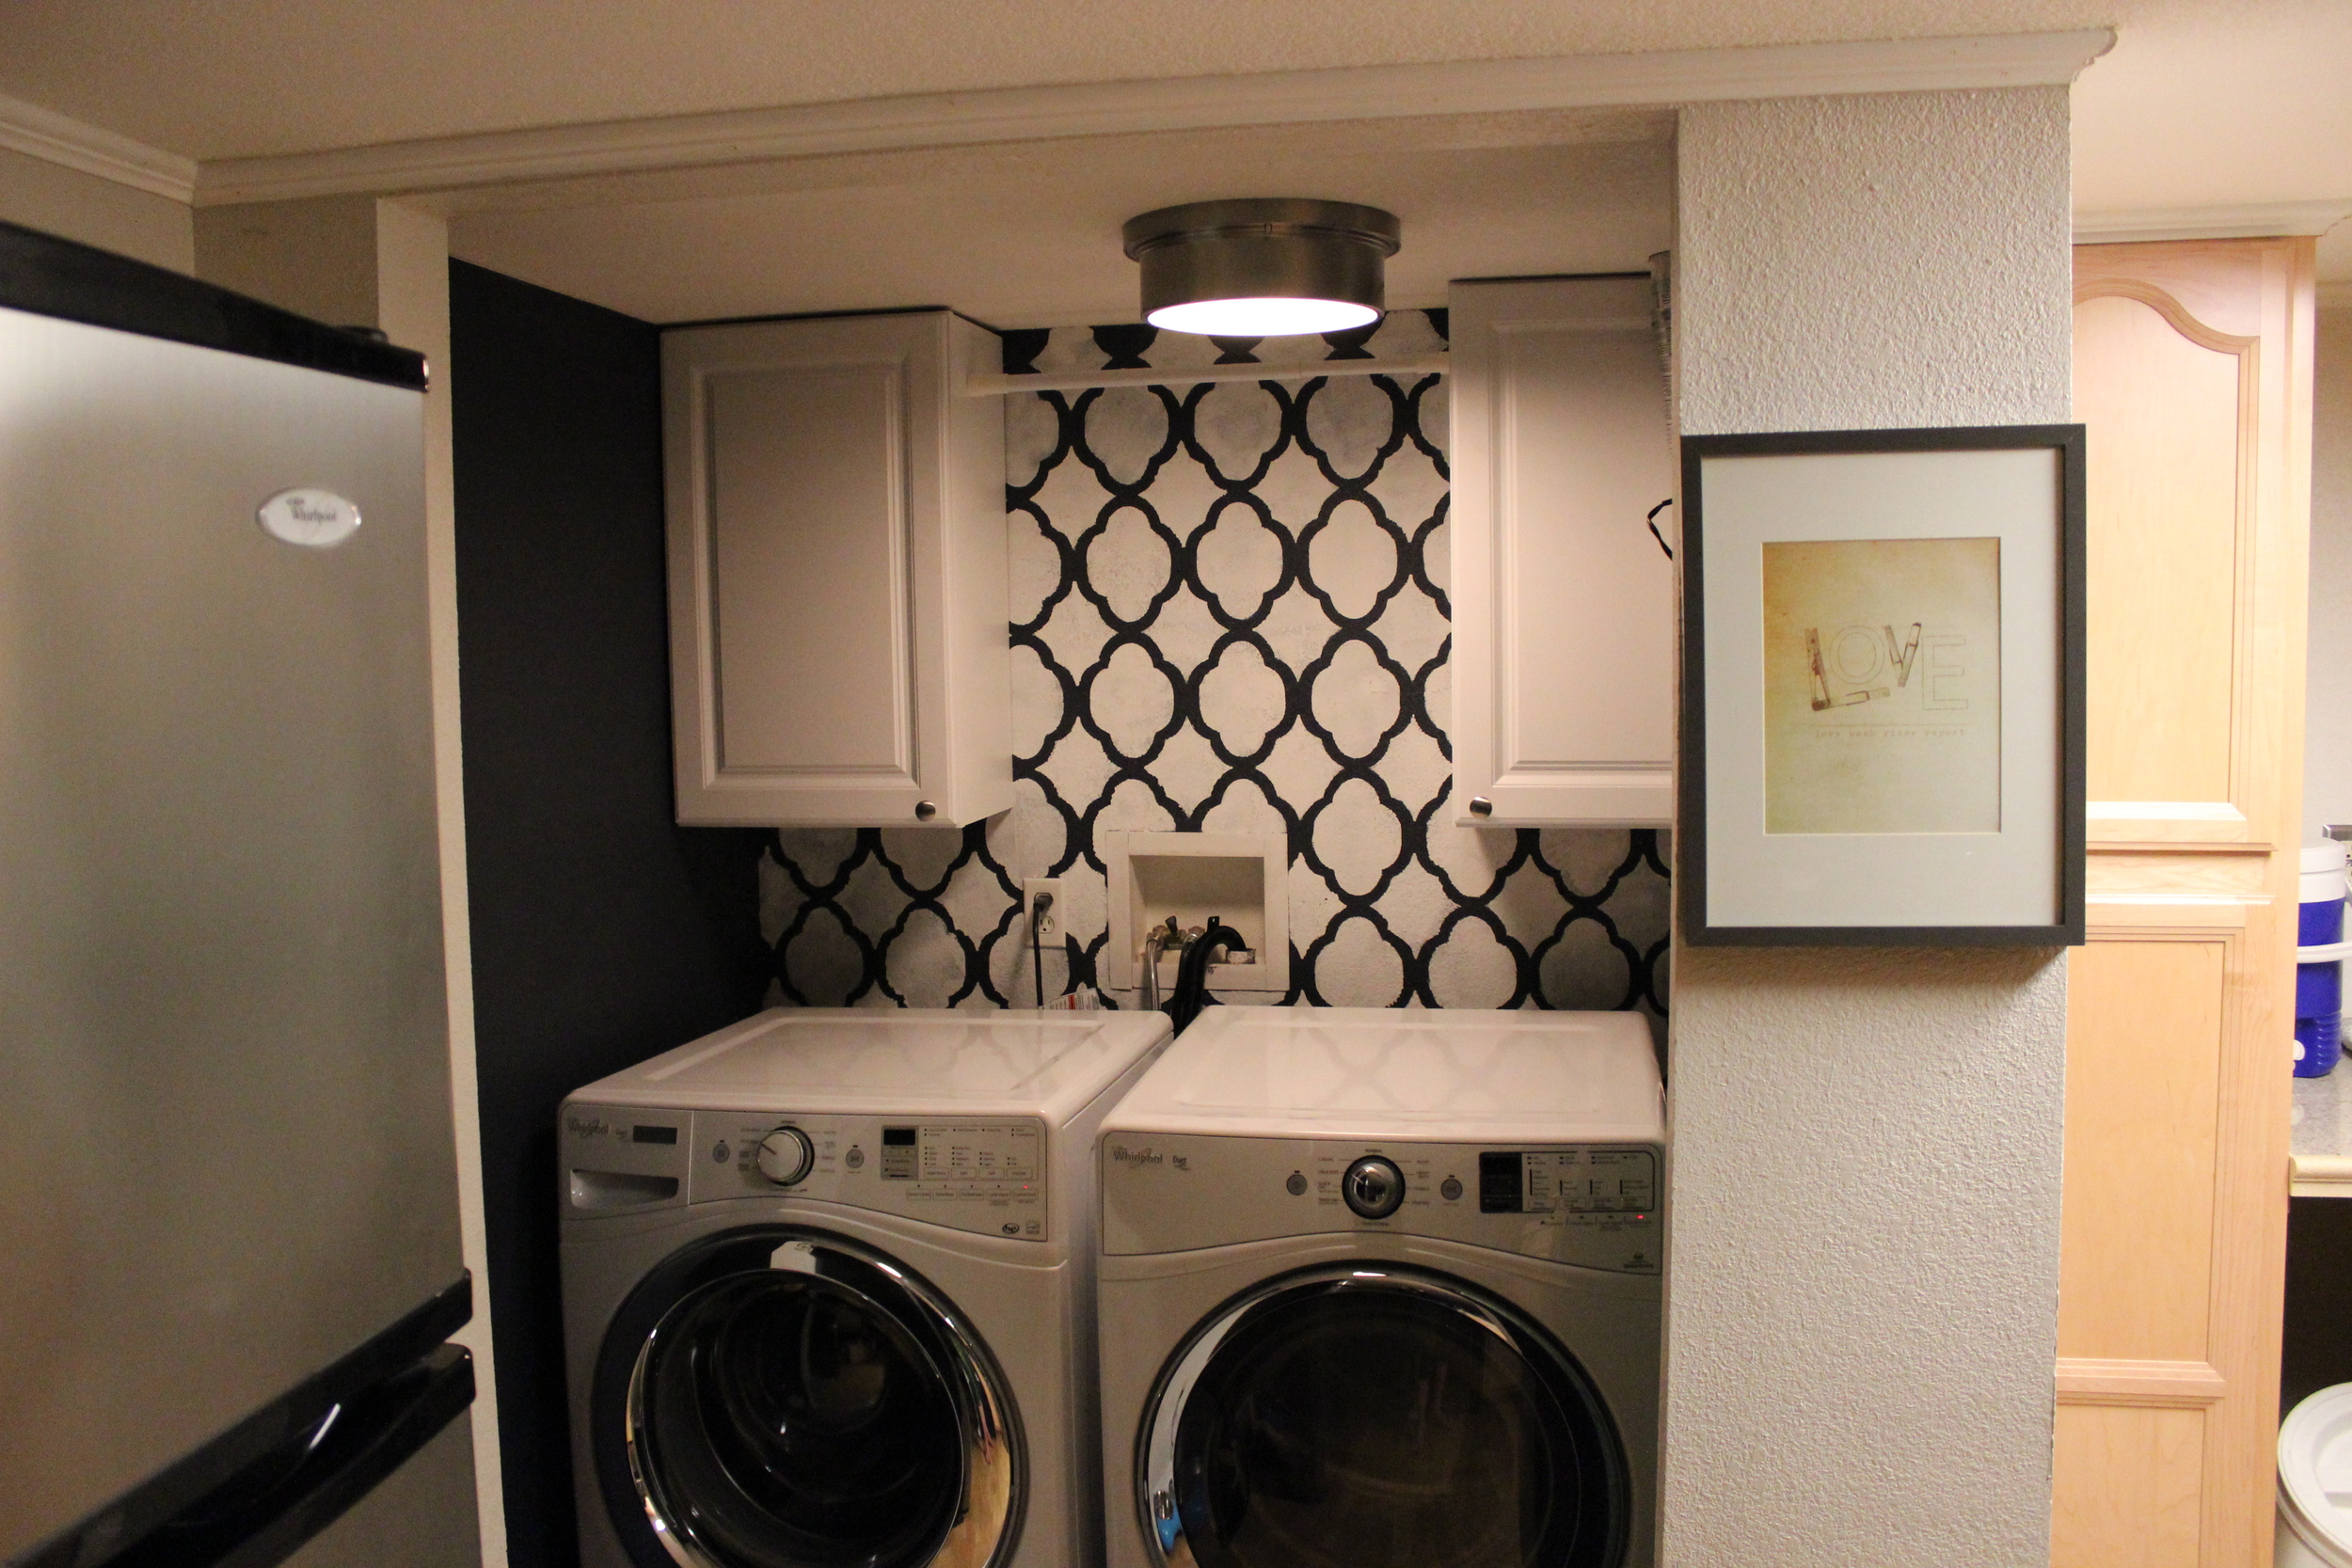
We also picked up this bad boy at the Container Store for about $12. If you get one, make sure to check the plastic before you leave the store. Our first one of these was a disaster: cracked and melted all over the place. Thumbs down for terrible customer service when I went to exchange it too. IMG_4267

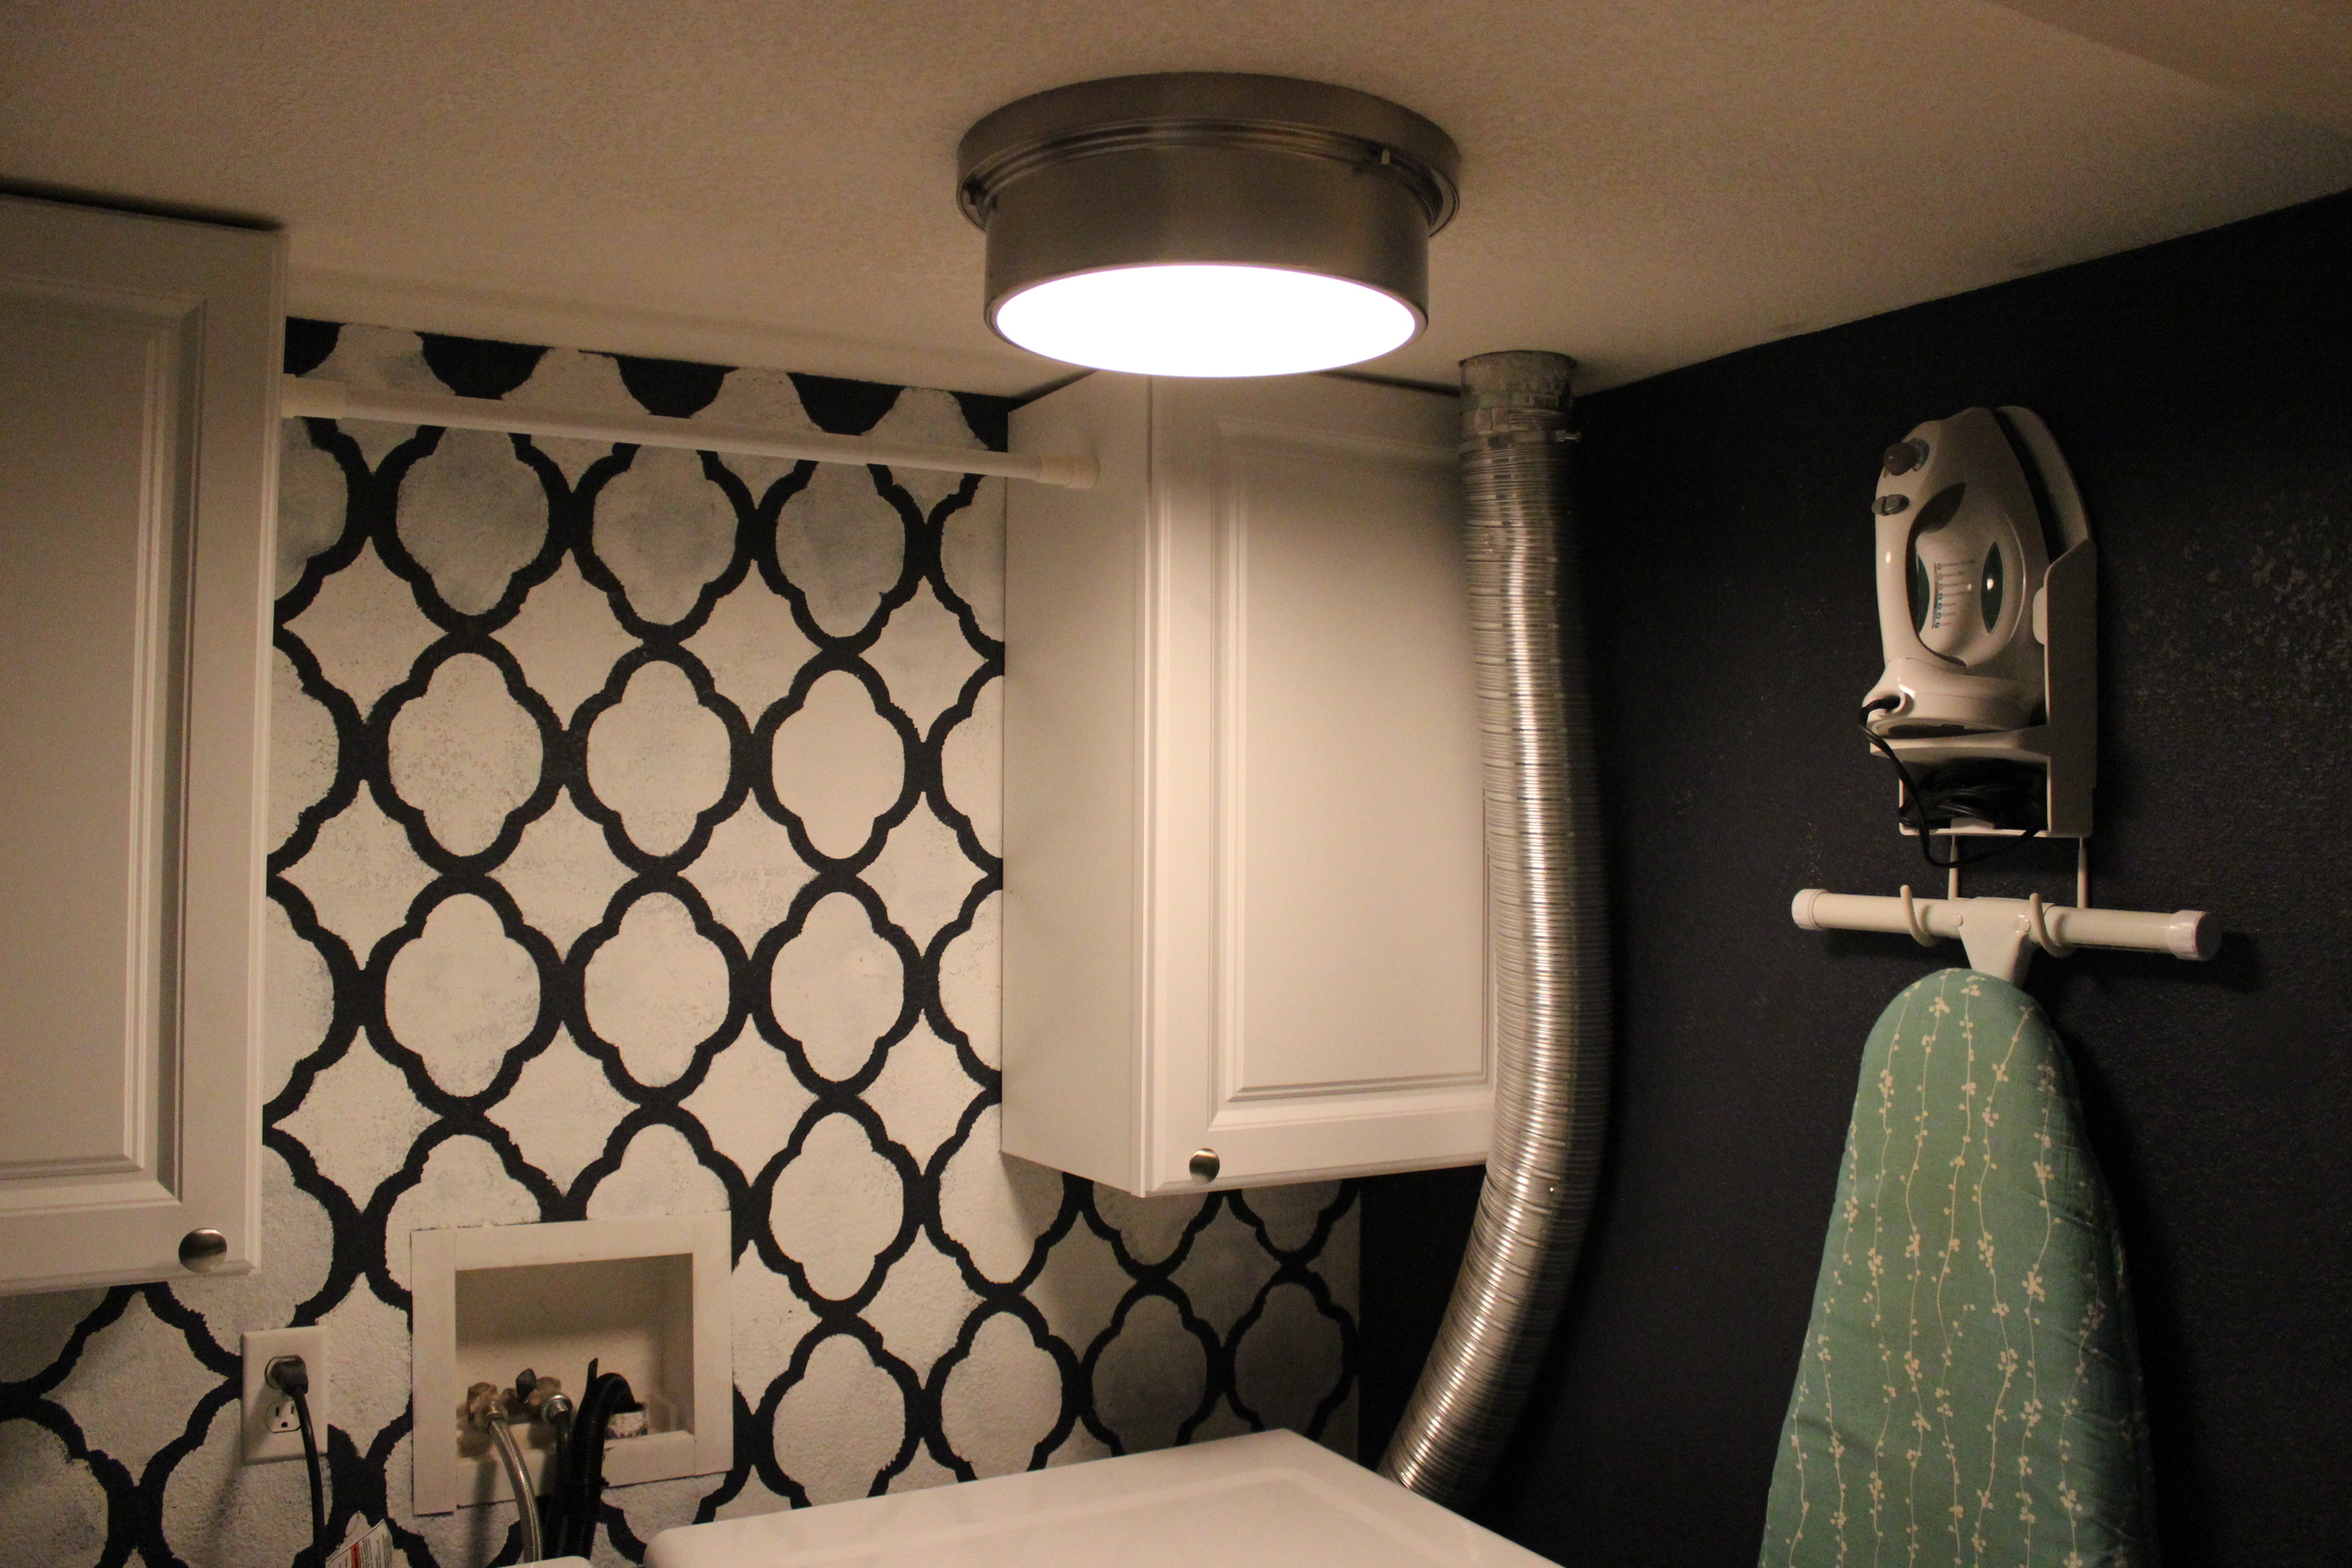
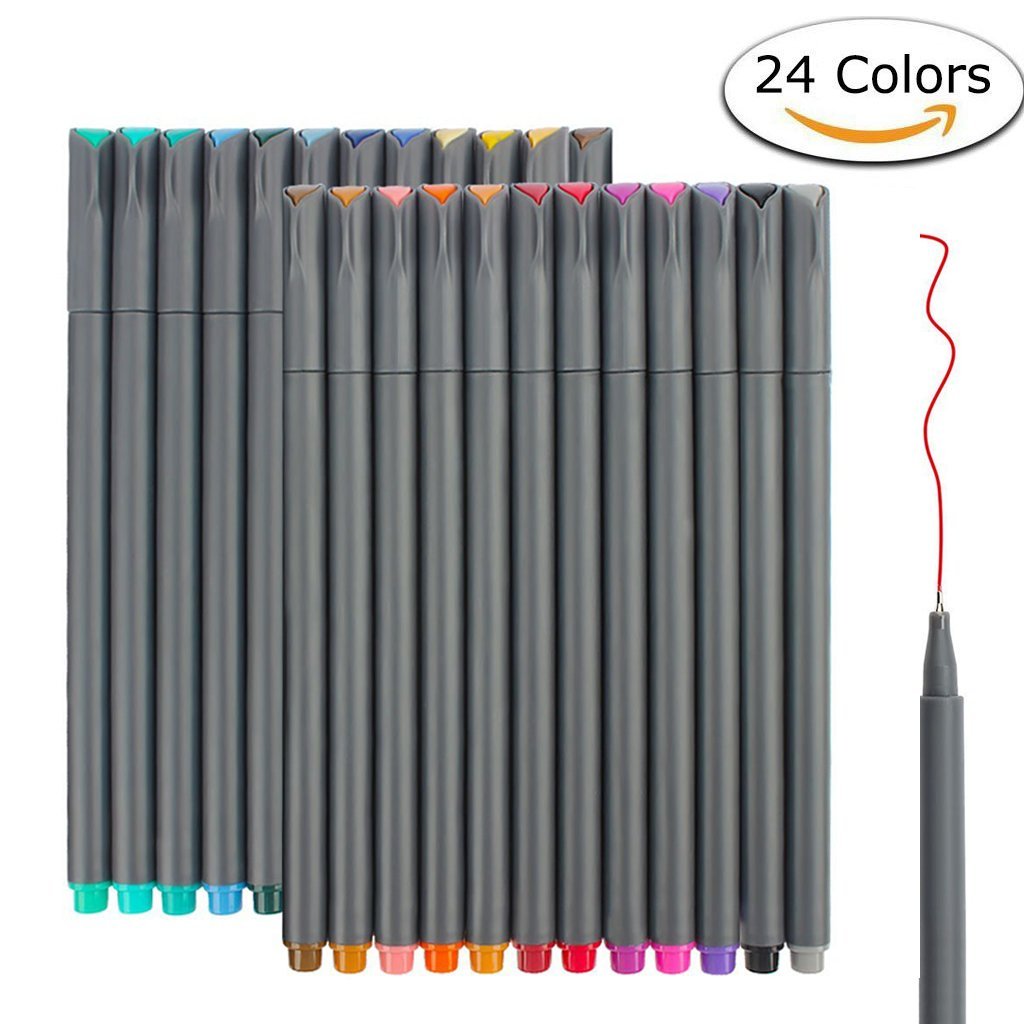
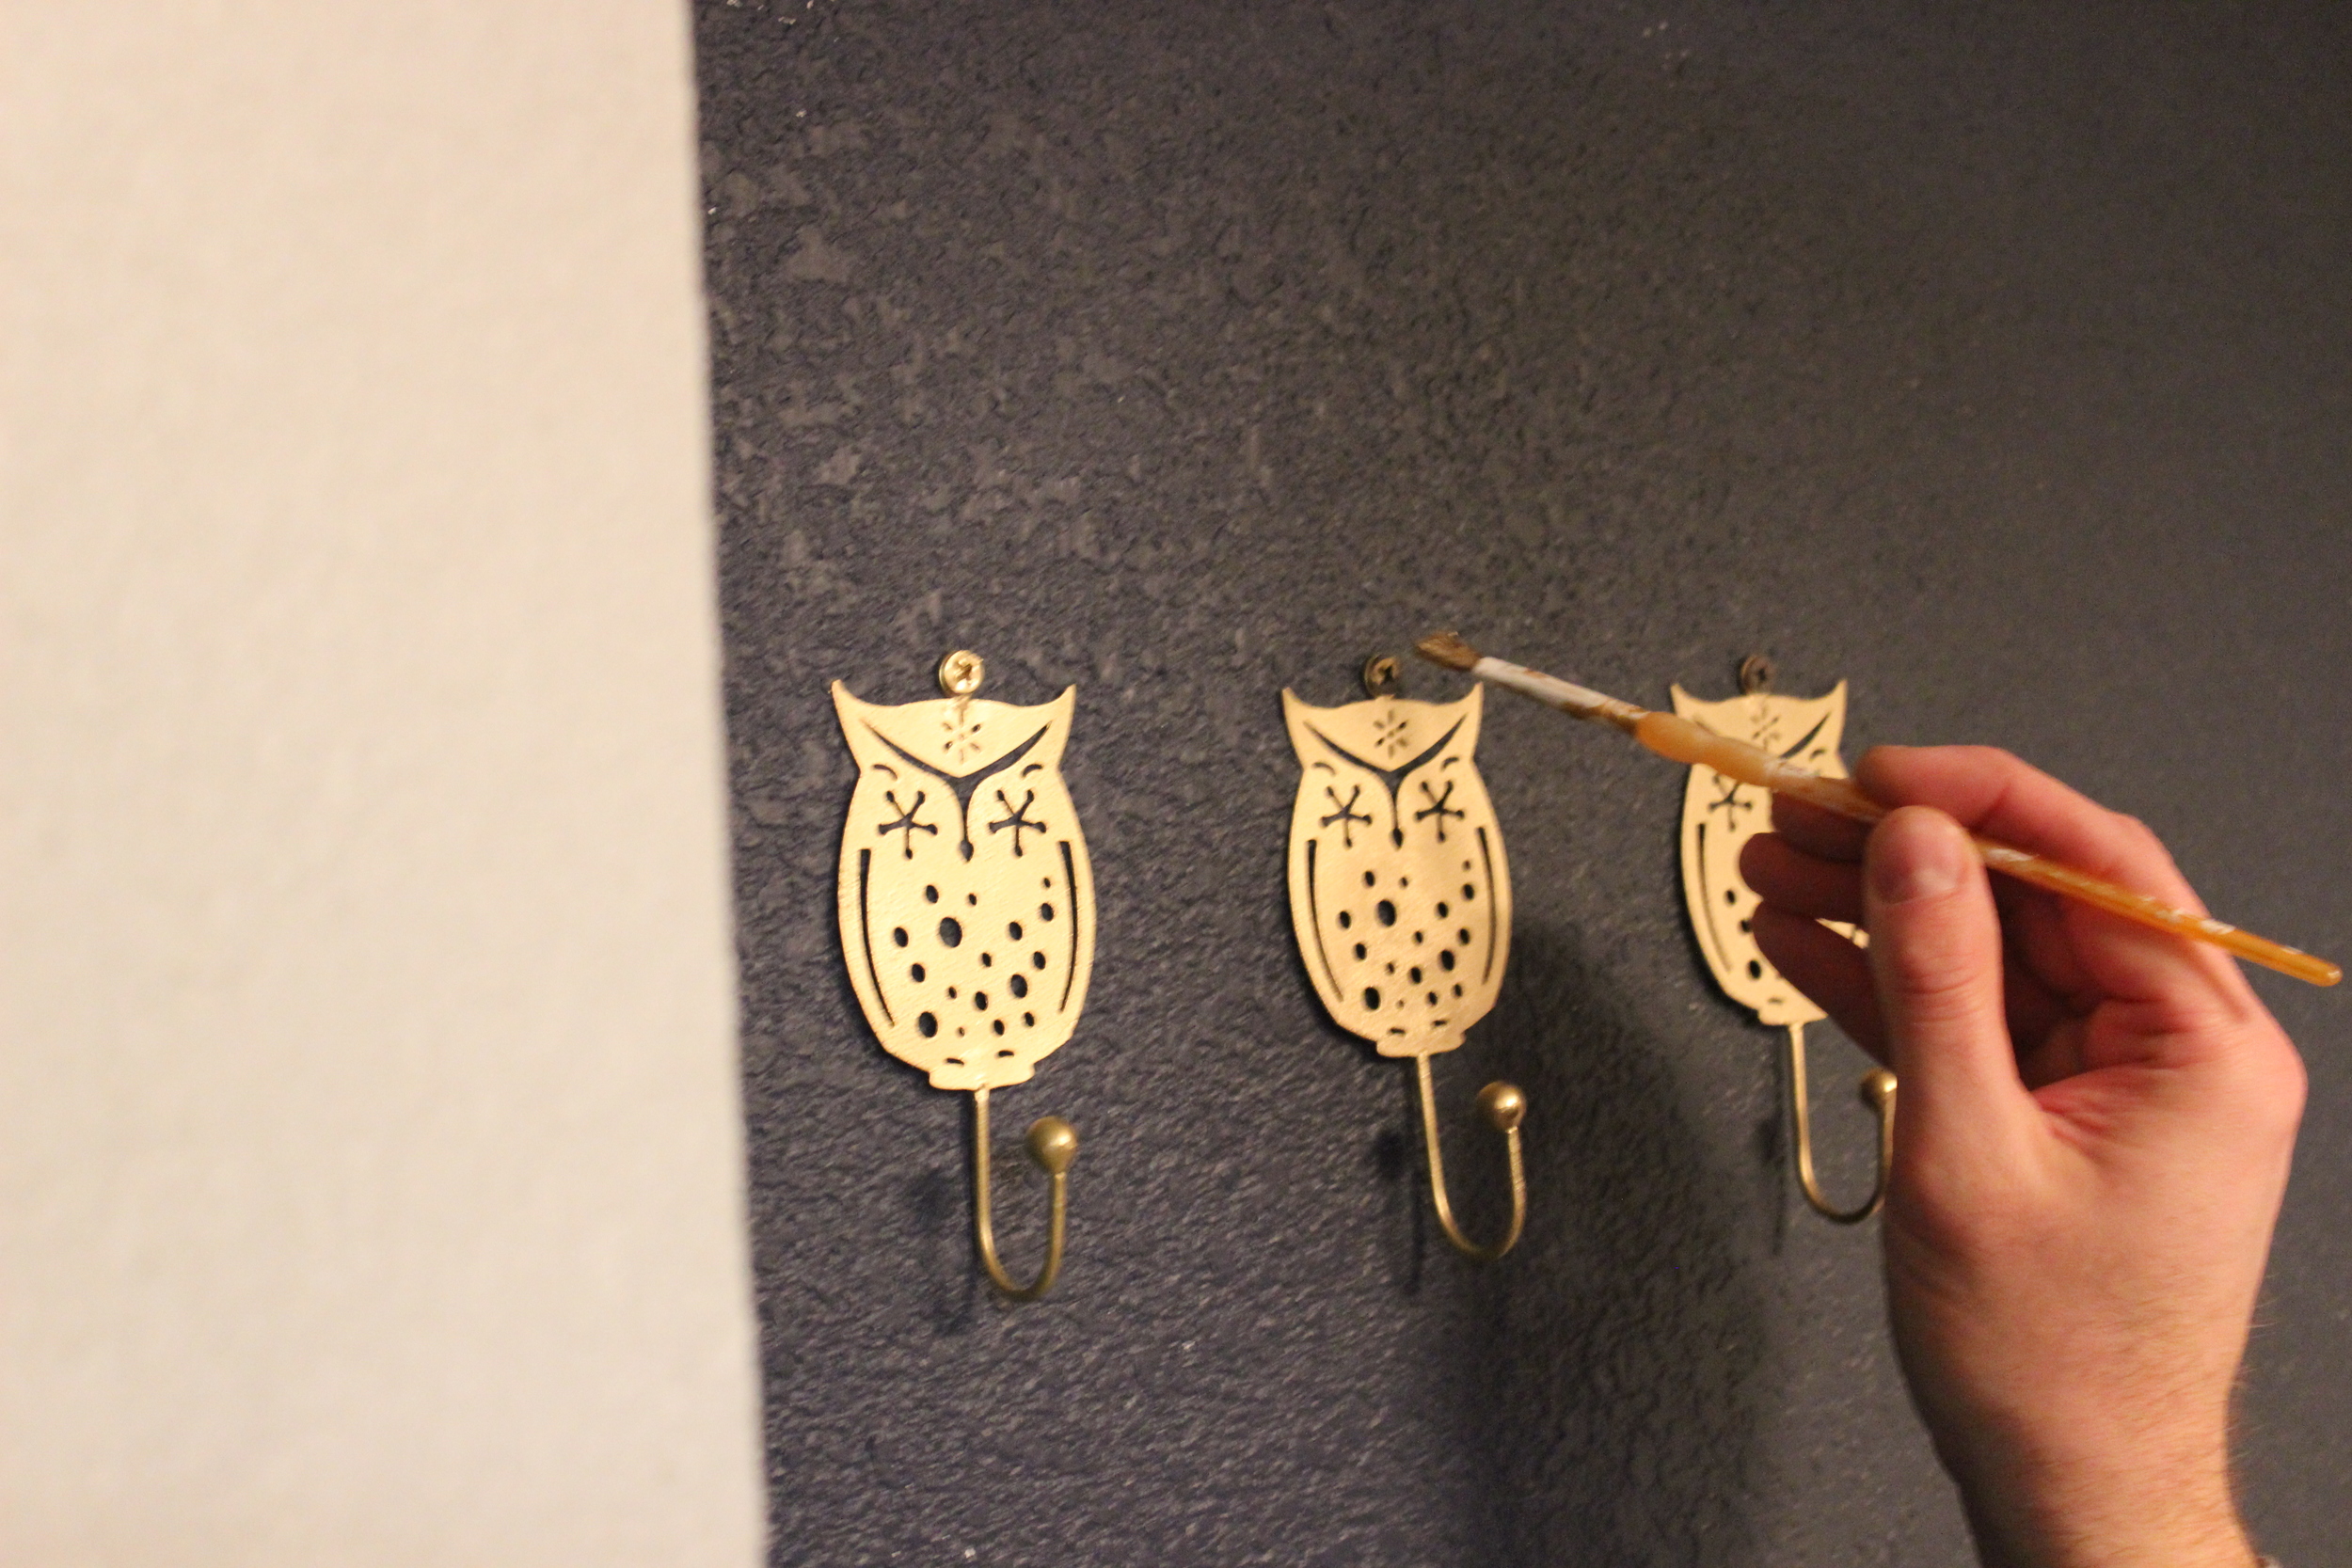
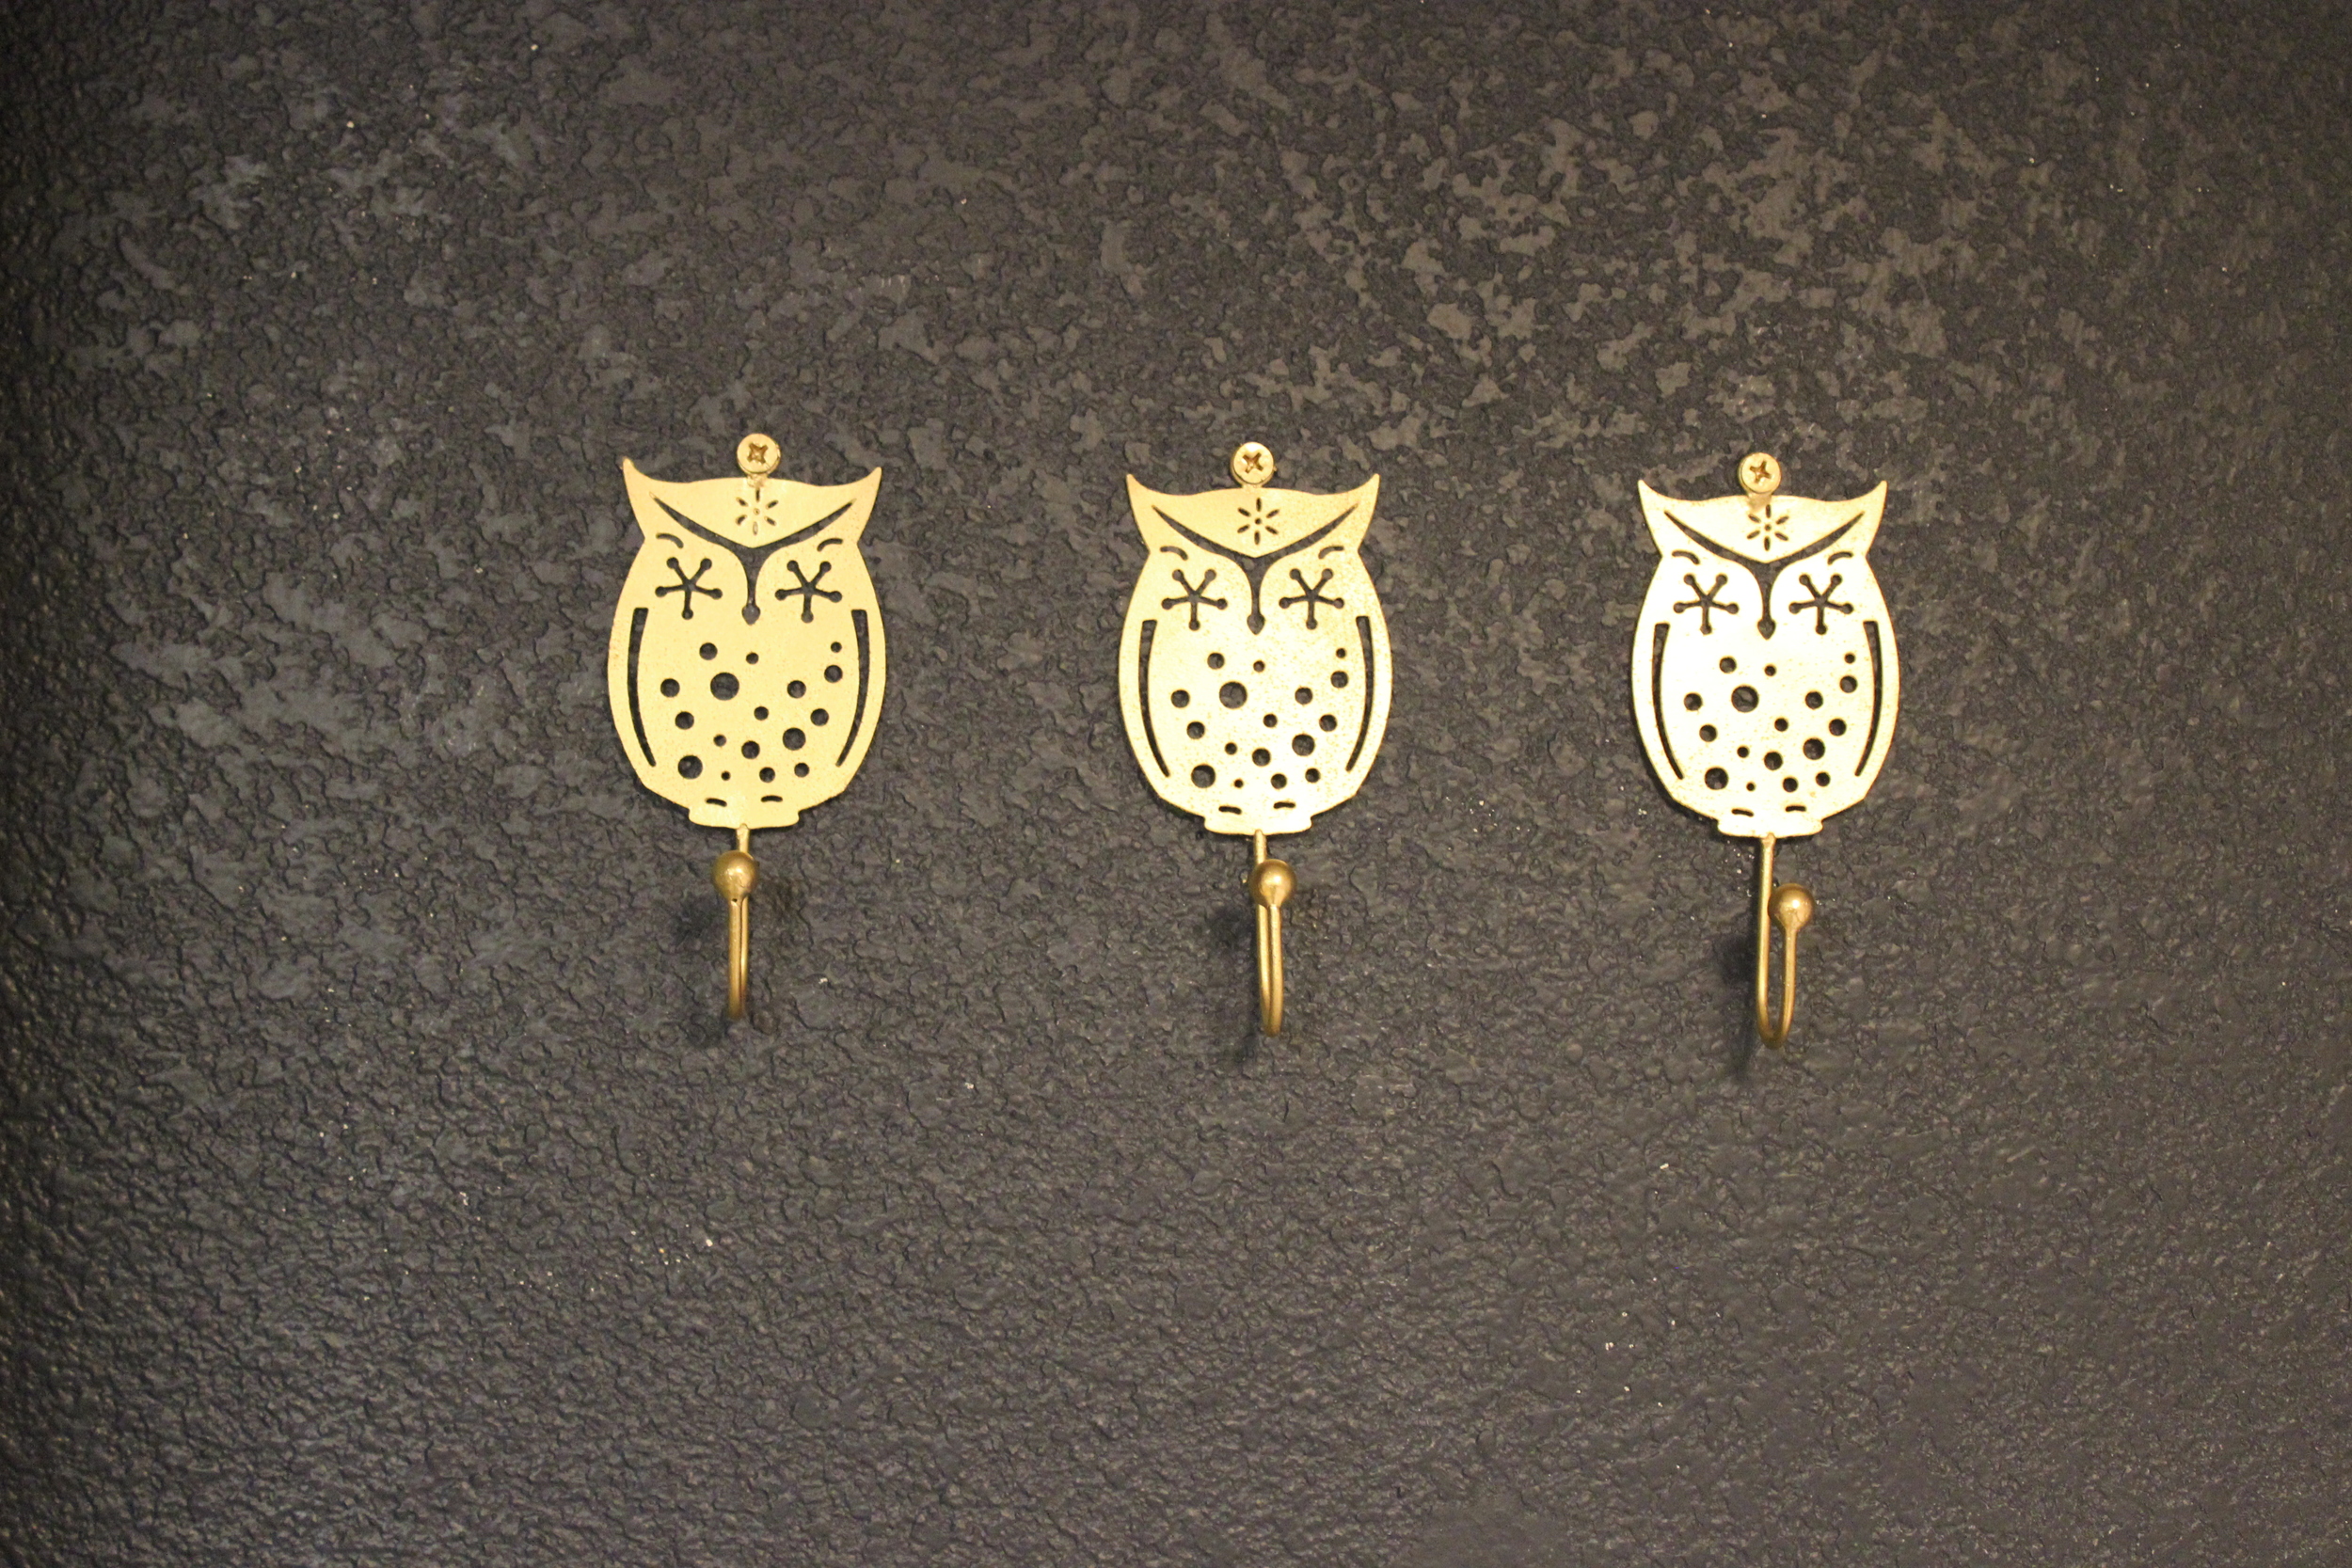
I ordered these little fellas off of Amazon, and when they showed up they were kind of green/gold. Nothing a can of spray paint can't fix! IMG_4280 IMG_4282

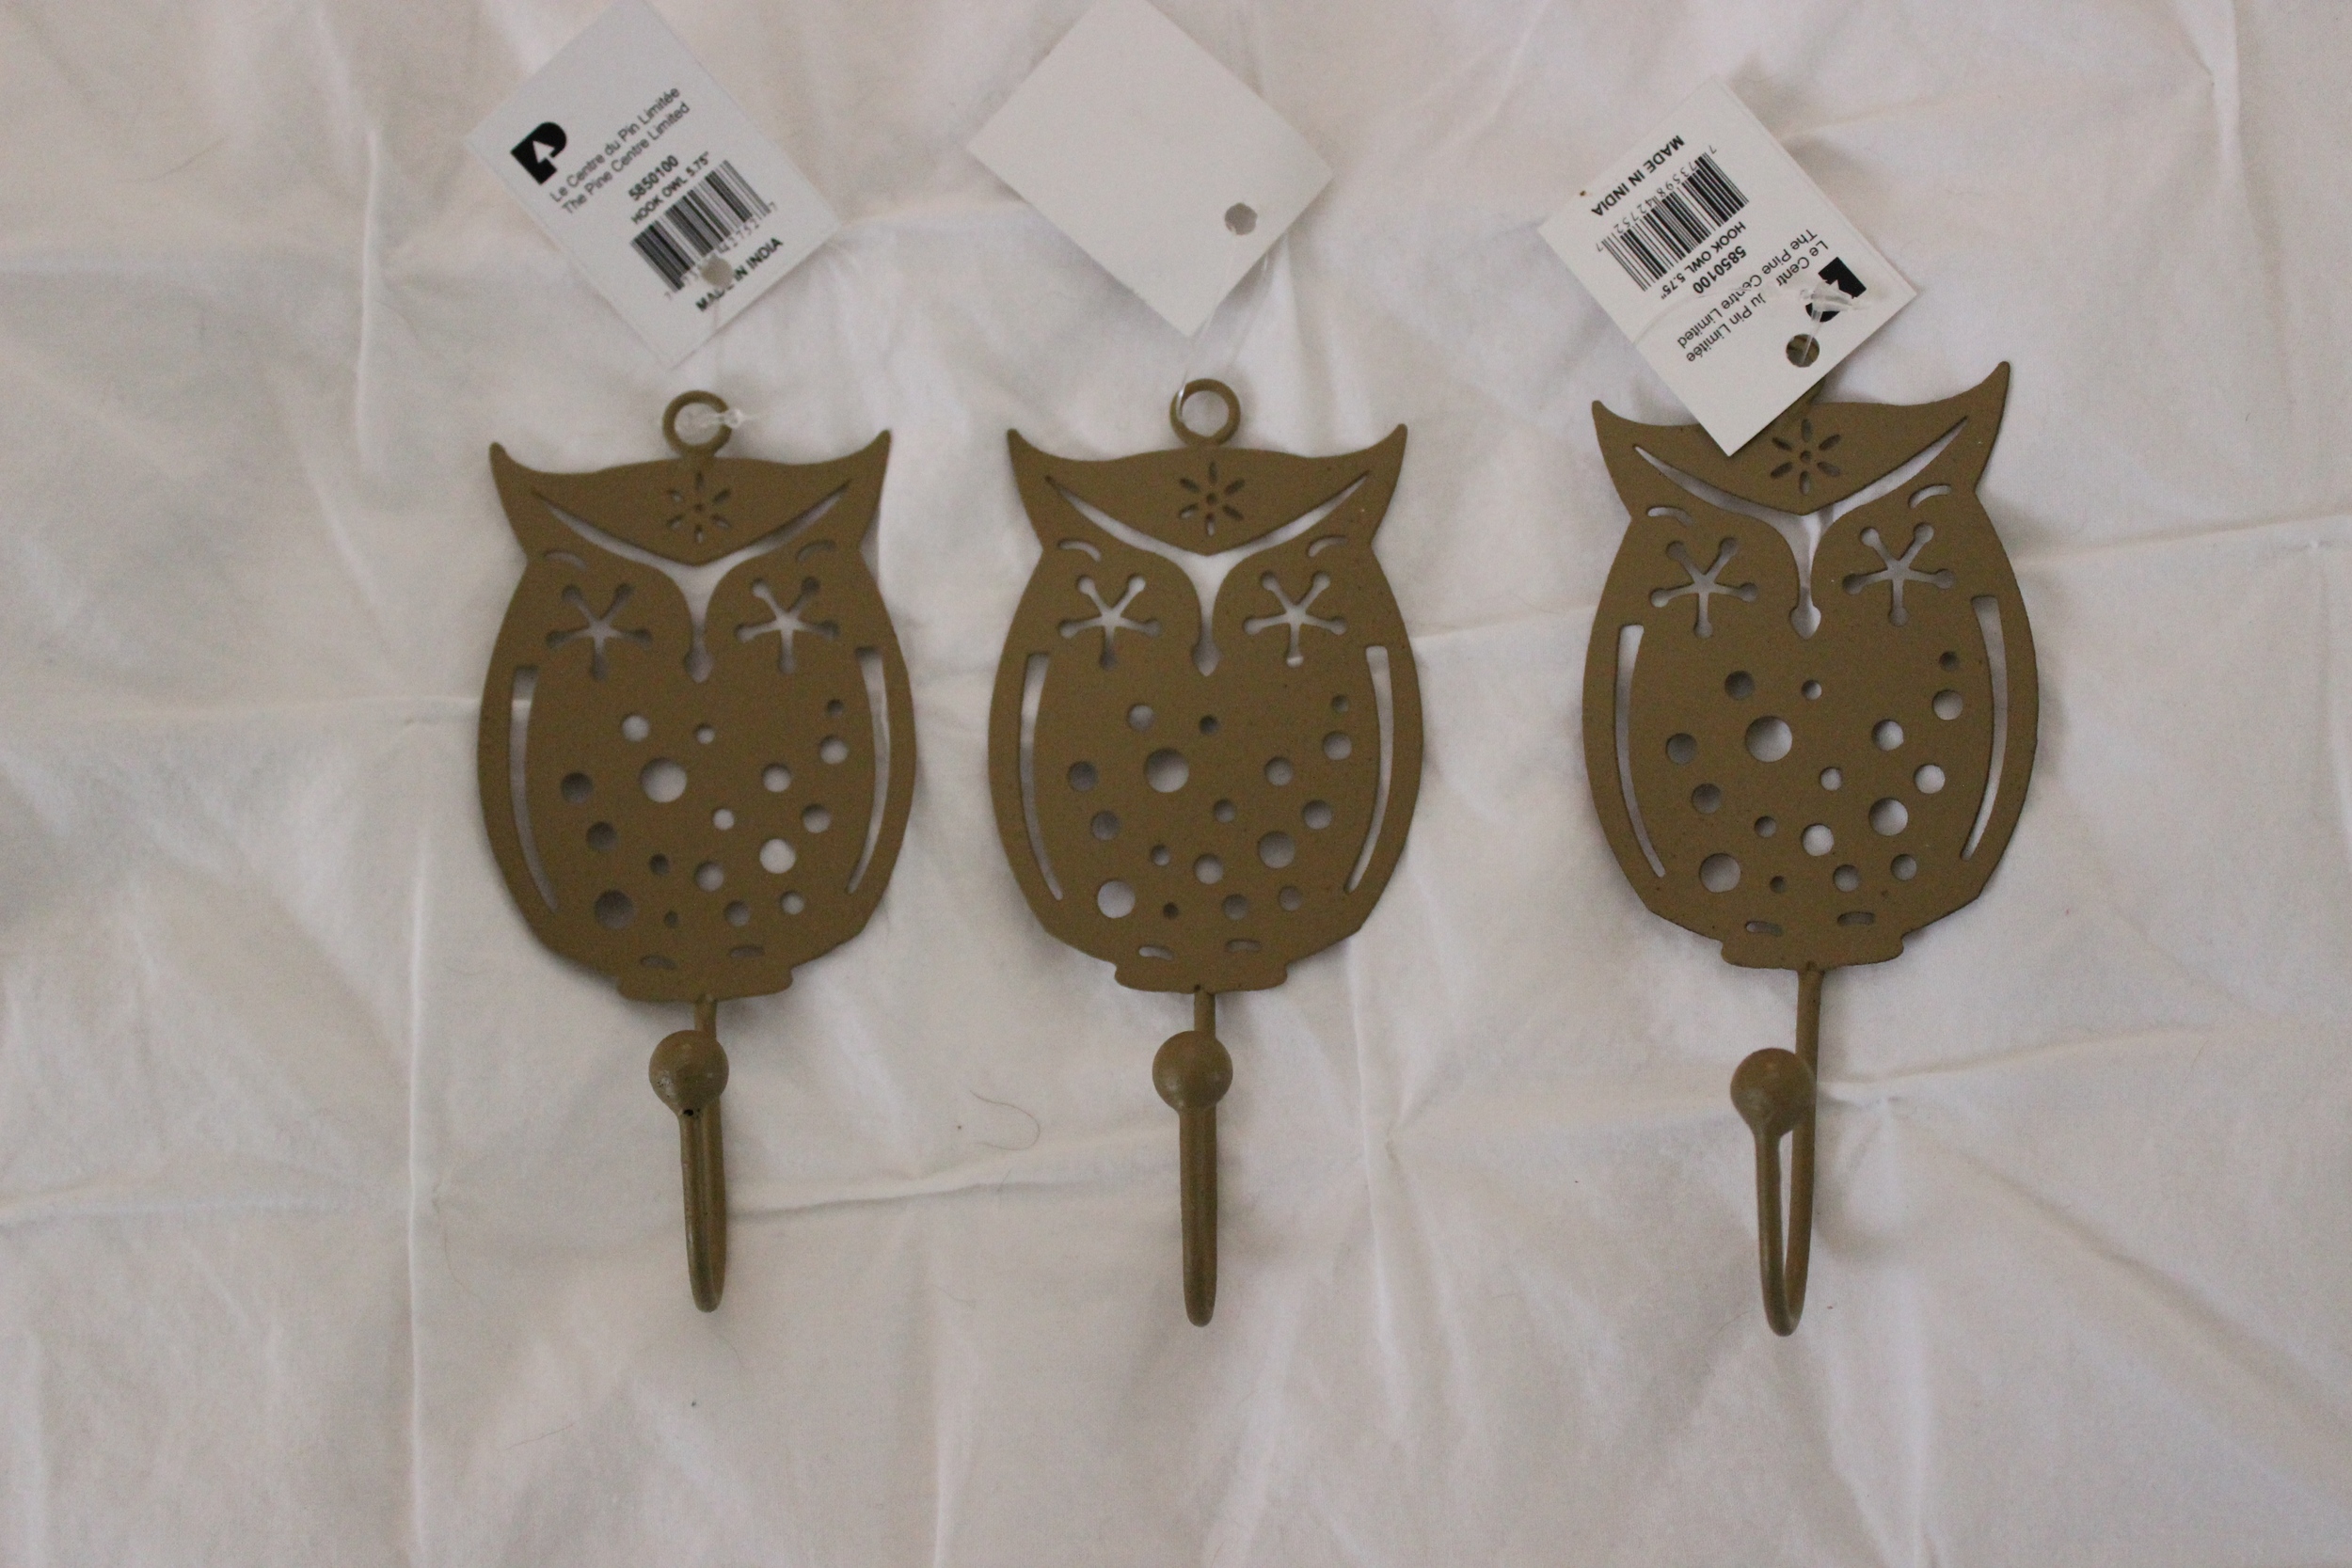
Bam-- the problem was that the screws were still the weird not quite gold color, so my brilliant LB sprayed a bunch of spray paint into a Solo cup and painted right over the heads of the screws. IMG_4285 IMG_4287 IMG_4288 IMG_4289

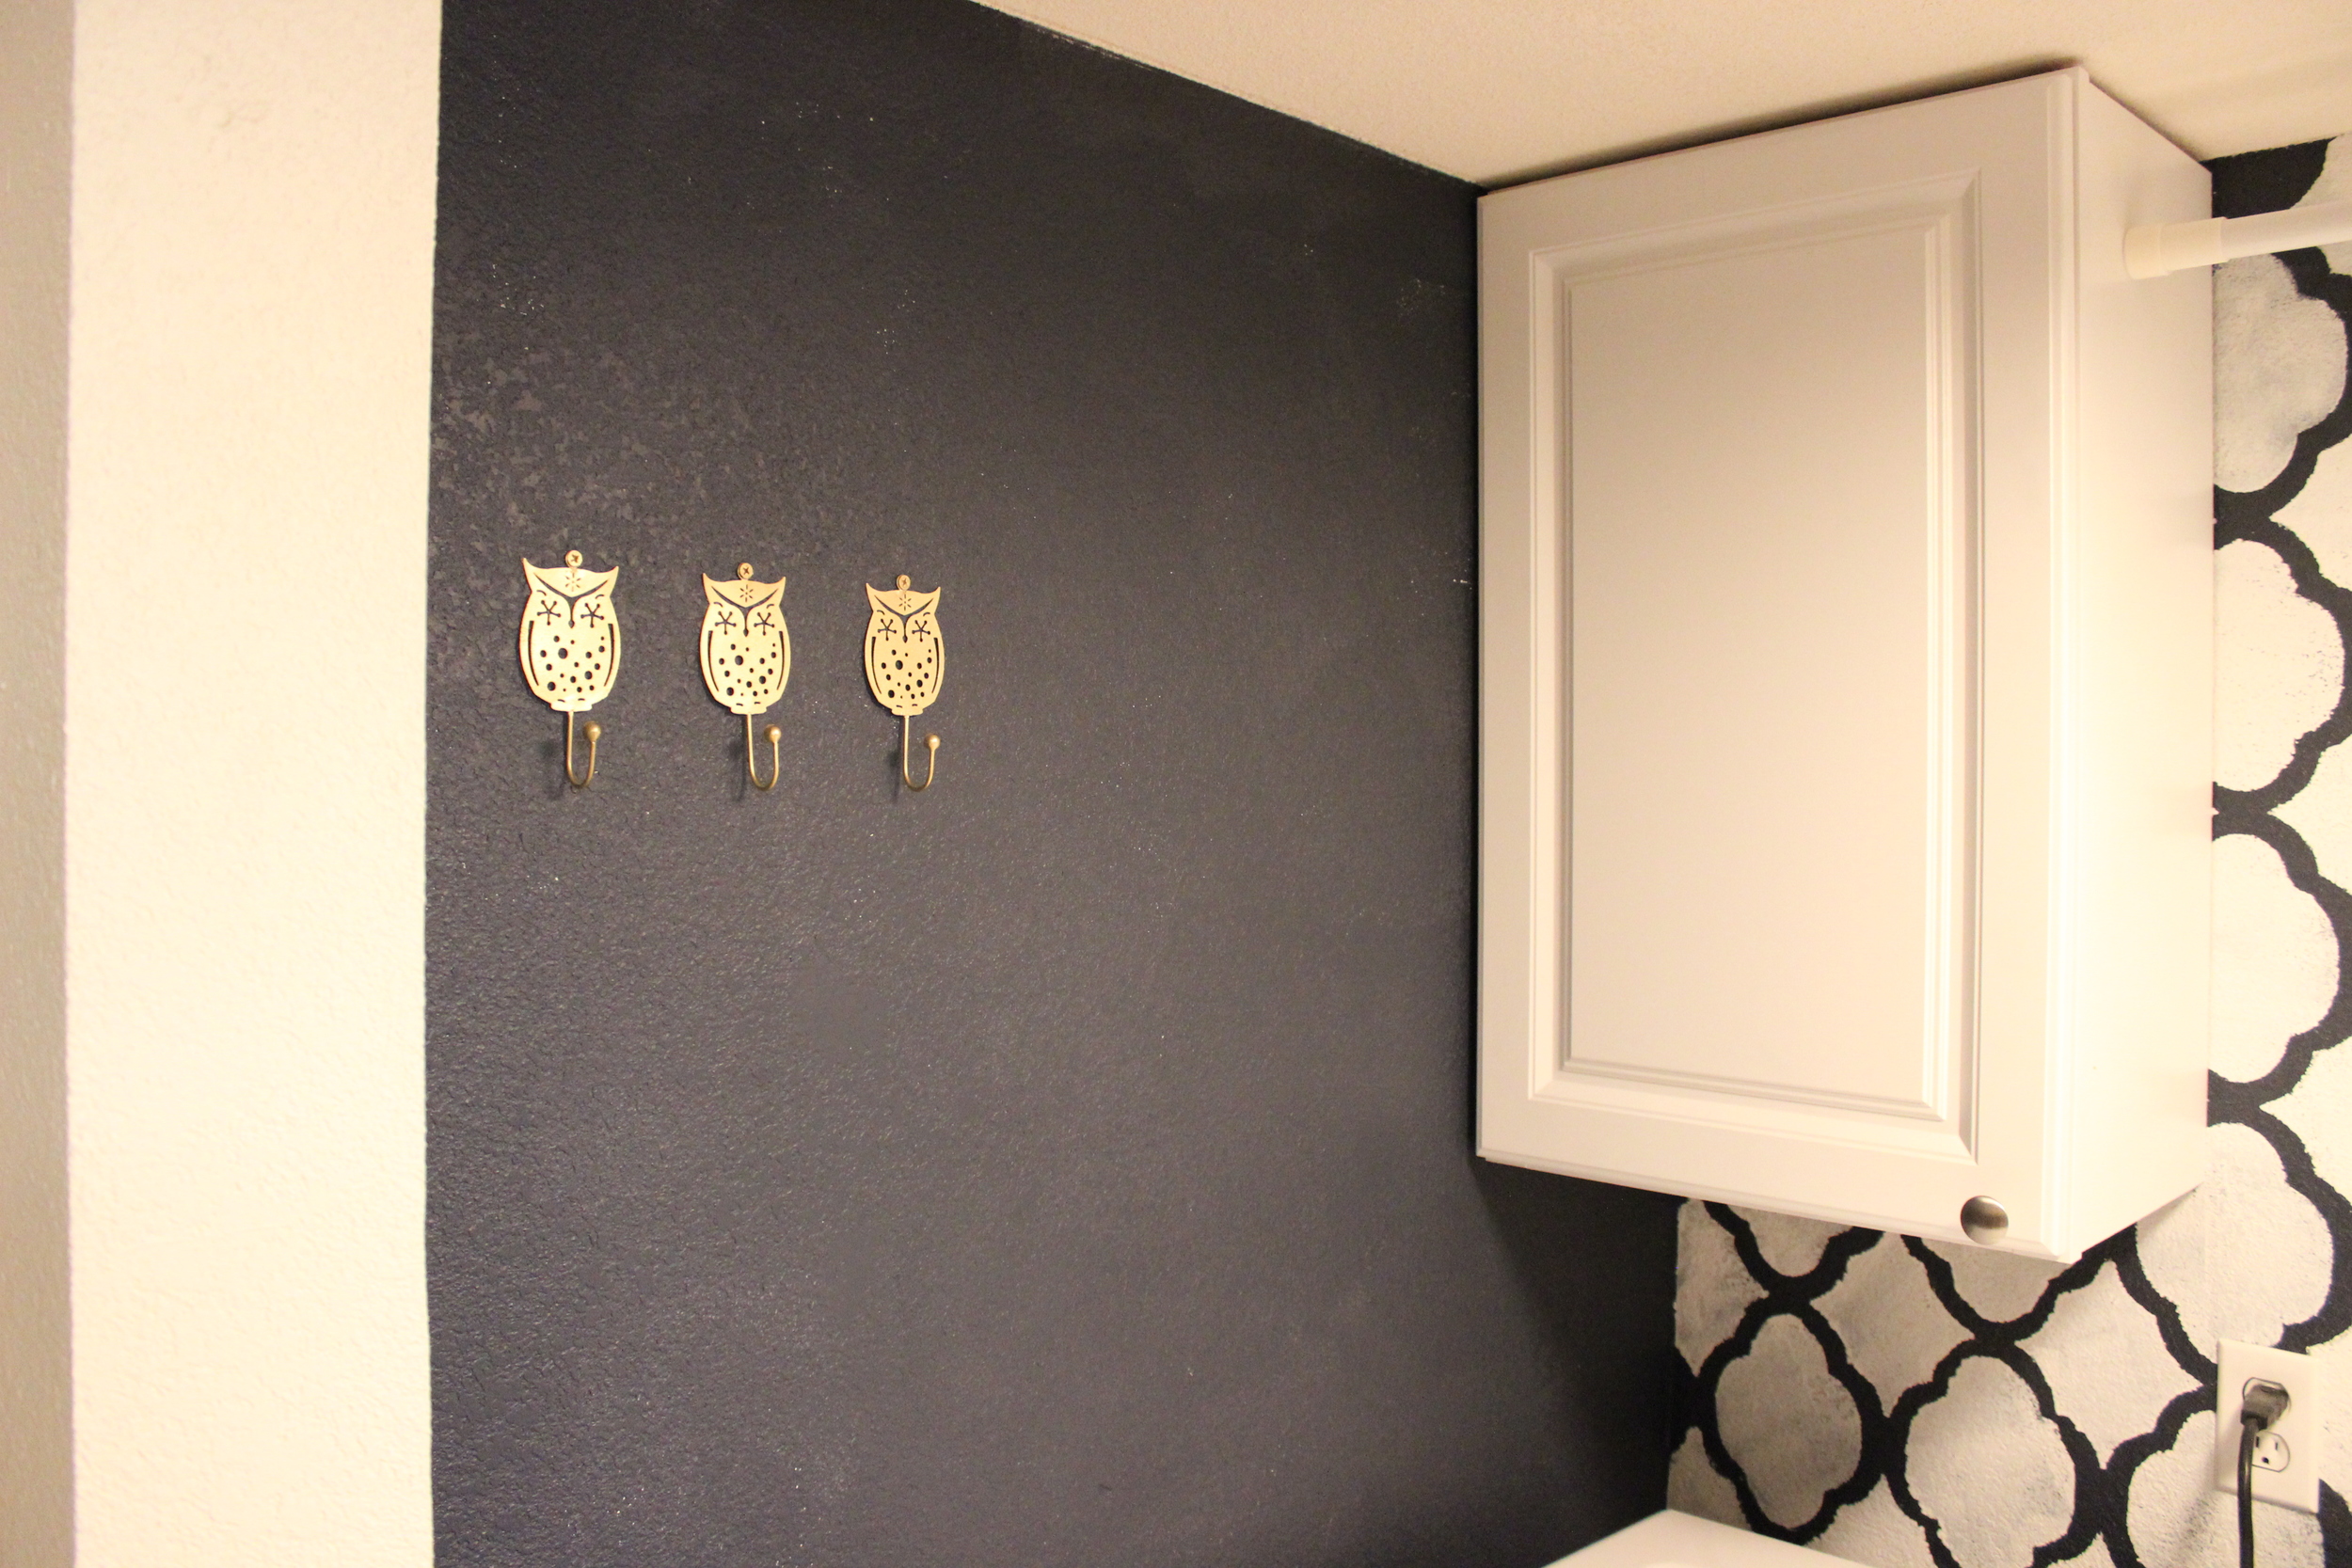
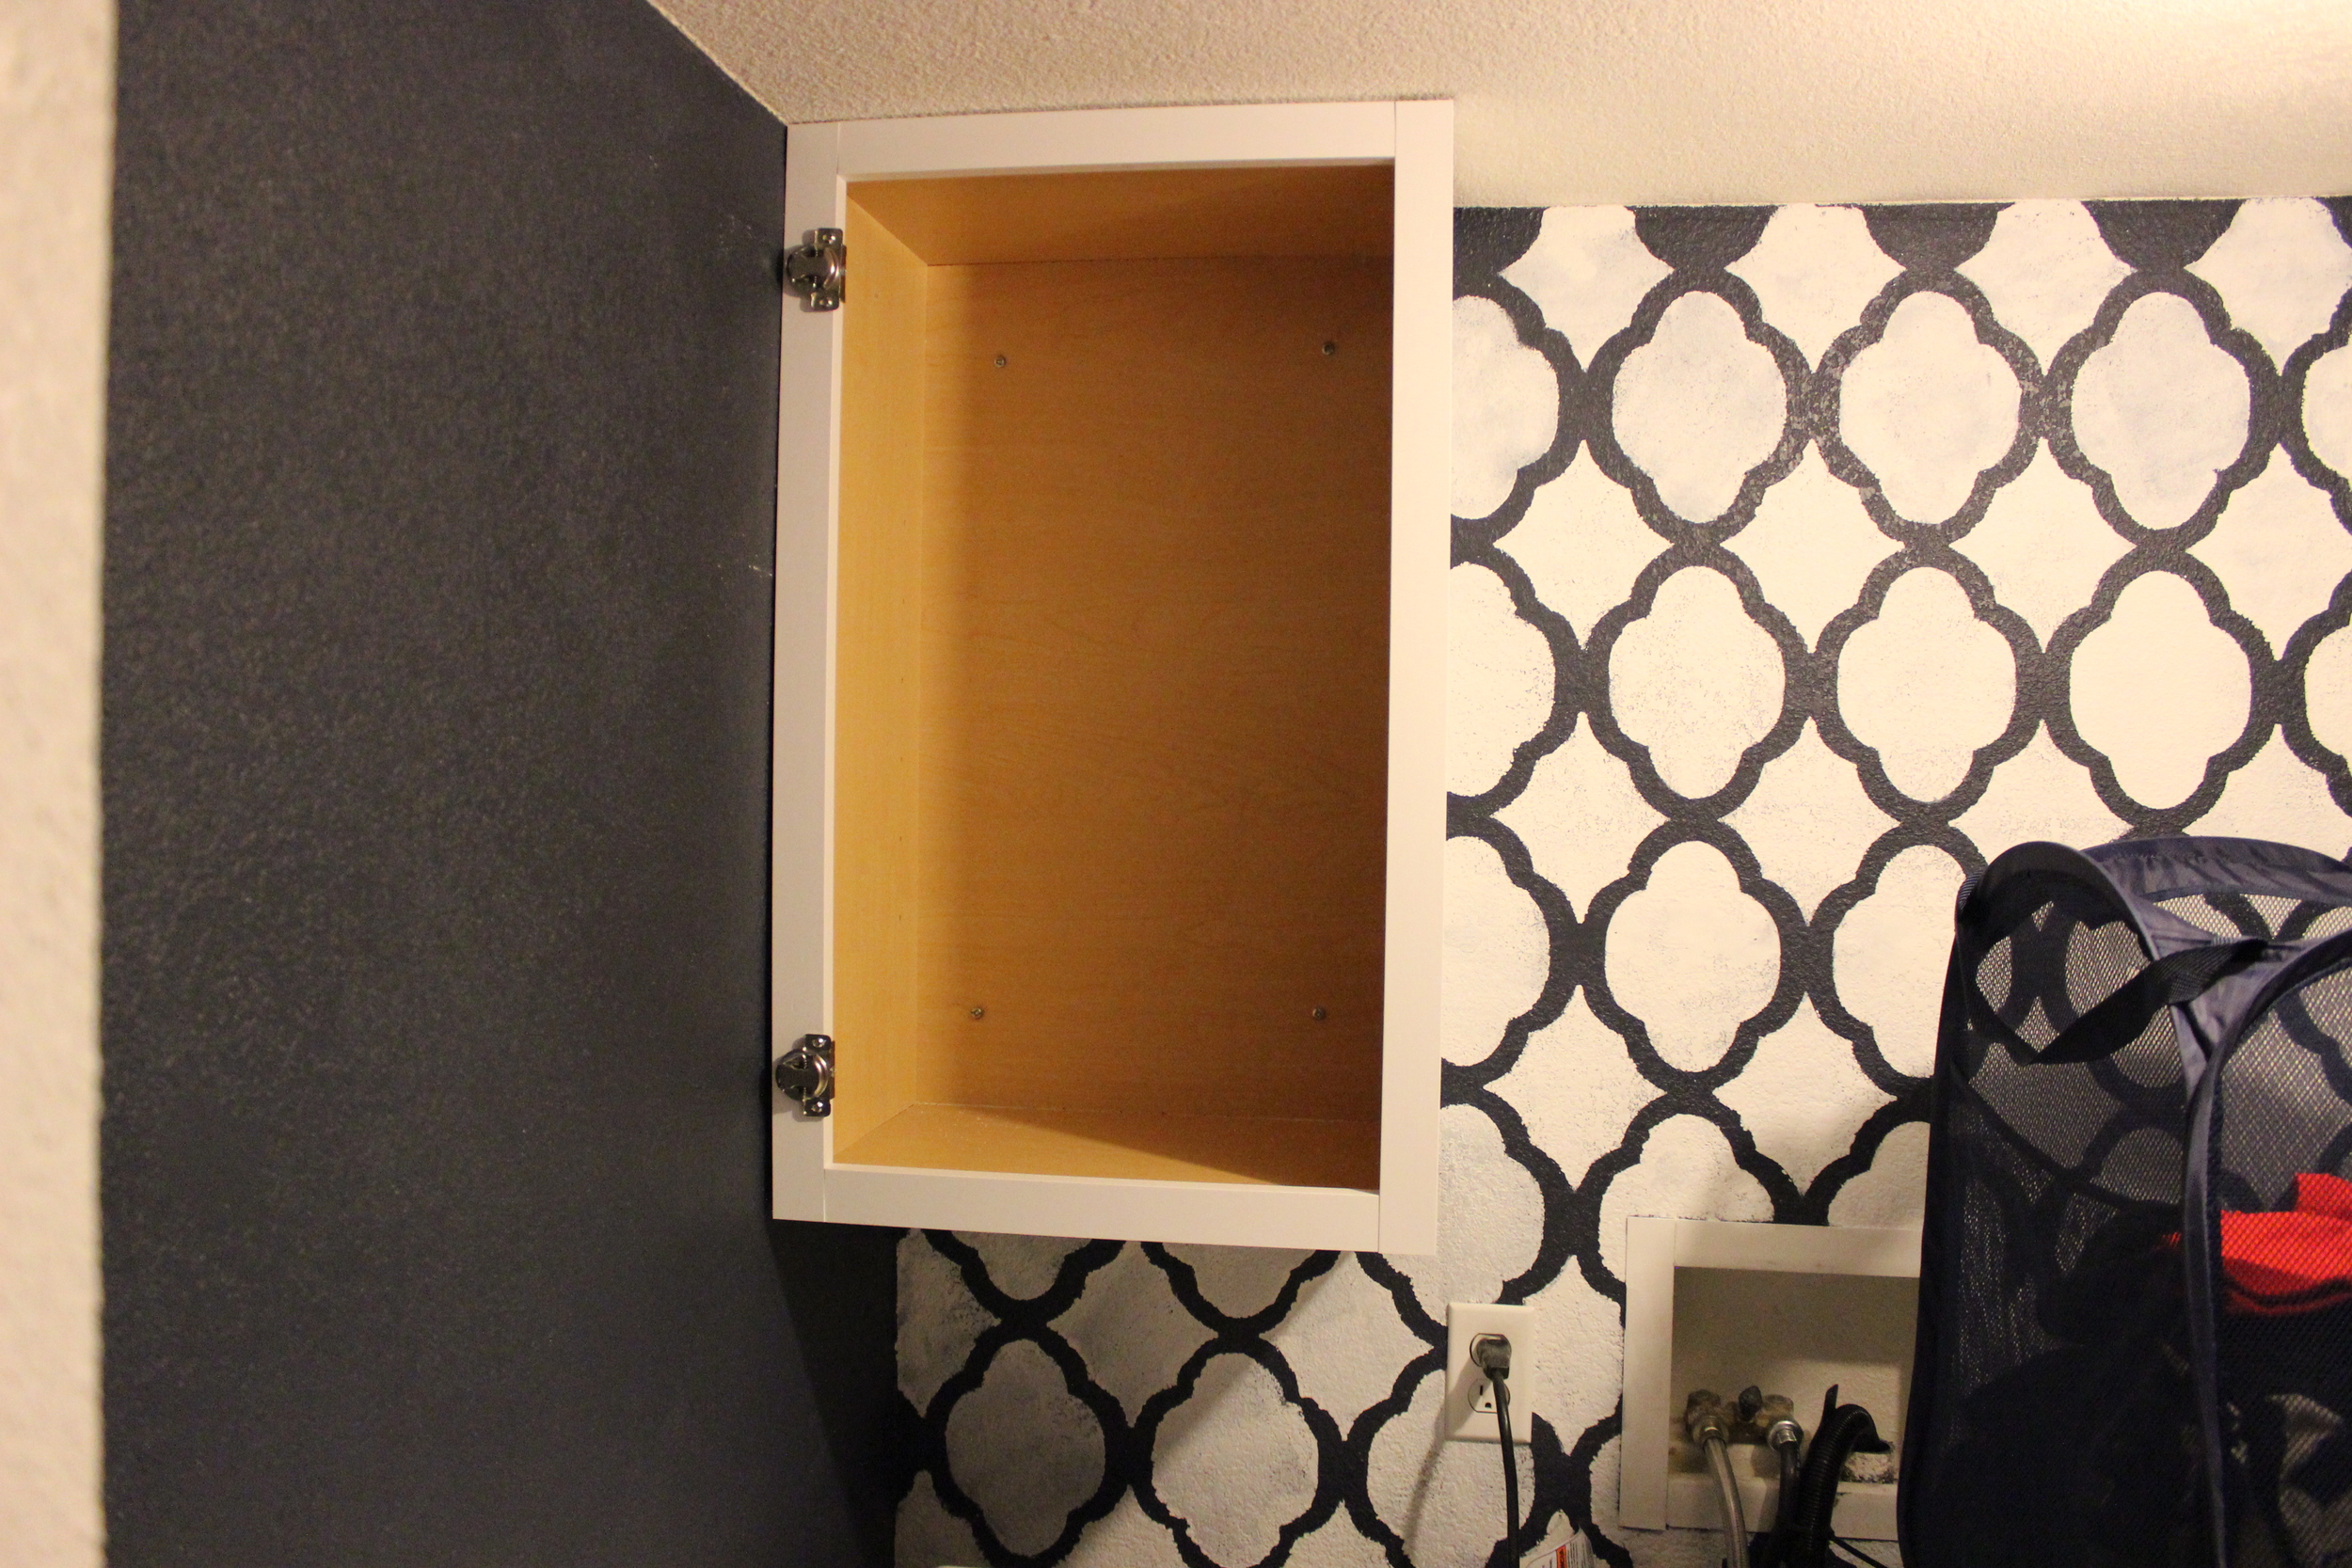
So this is where we are stopping for right now. The two big things left are feeding the duct through the cabinet and getting the butcher block countertop in there. The improvement is beyond words already and I am glad to leave this nook for a while... until I have to do laundry, which never stops. Ever.

Before

IMG_4292

We Hung Upper Cabinets!

By ourselves! Yesterday, I showed y'all how we stenciled this bumpy little laundry room wall. I love how it looks, but we needed to add some storage back into this space.

How to Stencil a Wall

Once we got to this point on Saturday, we brainstormed weather to go with shelves or cabinets. LB kept coming back to the thought that having a hanging bar would be great, but that he wanted to minimize visible clutter.  The only way I really saw us going with these requirements was to install cabinets. The decision was made and the following shopping list was assembled.

IMG_6301

We headed out into the snow torrent, and found these cabinets at Home Depot for $79 each and decided to just do it (like Nike).

Cabinet

We also picked up these anchors. The HD guys told us that each one of these screws holds 100 pounds each so that even if we couldn't find a stud (we couldn't) these would keep our cabinets super secure.

IMG_4237

To get them in the right spots, LB held up the cabinets on the wall and I pre-drilled the holes using a really small bit.  The holes needed to go through the cabinets  and into the wall so that we would know where the anchors needed to go in the wall.

IMG_4236

LB got the screws pre-prepped for me after we had marked our holes. IMG_4240

And LB drilled the wall holes a little larger so he could hammer in the anchors (the green things). IMG_4234

He held the cabinet back up, I placed the level inside and along the side of the cabinet, and we screwed it right on in. IMG_4242

We did it to the other cabinet on the other side and re-attached the doors! BADABOOM! IMG_4245

The tension bar was then put up between the cabinets. We then reattached the dryer vent and realized that we had a problem: the vent prohibited us from opening the right cupboard even a little bit. So our new solution for a next step (to be done a month or so from now) is to feed the vent up through the cabinet and out that way. We were over this project and all of the arm overhead extending happening currently, so we just left it for now and are using the left cabinet. When we have recovered, we will drill three giant holes: 2 through the bottom and top of the cabinet and one into the ceiling to feed the vent up and out of the way.

Before

IMG_4253

Oh! And I switched out the art work and put the laundry LOVE print outside of the laundry room instead of covering even more stencil on the back wall. I am bummed that the cabinets are hiding so much of the stencil, but I still love the way that it looks.

Even after a whole weekend spent doing this project we've got things left to do:

  • Paint the floor
  • Change the light fixture
  • A butcher block counter top for the top of the washer and dryer
  • Re-route the dryer vent through the cabinet

The good news is that we got the light fixture and some other storage up yesterday, so we're not done in here yet!