How To Cloth Diaper
/I am not an expert at this and have found a way through the maze of cloth diapering that has worked for our family. I am cloth diapering because 1) I am cheap. 2) I like our planet. 3) They are cute. 4) I am cheap and Lyla's blowout-caused, cute outfit destroyer poops decreased 800 fold when we went to cloth. 5) I am disorganized and would run out of disposable ones I am sure of it.
Since I get asked quite often how we cloth diaper, I figured a post would be helpful!
If it isn't clear by everything else on this blog, I pass no judgment on mommas who have found that disposable diapers work for them. Work it out mommas. Life is hard enough without worrying about how you have decided to contain your child's poop. ;)
The first thing you will need are supplies and I get that the initial investment adds up. It just does. But once you've got your rhythm going, it's pretty simple. I have only ever used the Bumgenius diapers. I have amassed about 30 of them. They are adorable, easy to use, and truly idiot proof. They fit from about 8 pounds all the way until the kid is potty trained. We've used Lyla's for about 5 months now and they mostly function as good as new. These are the exact ones that I use:

Once the diapers are amassed here are the other things you will need:
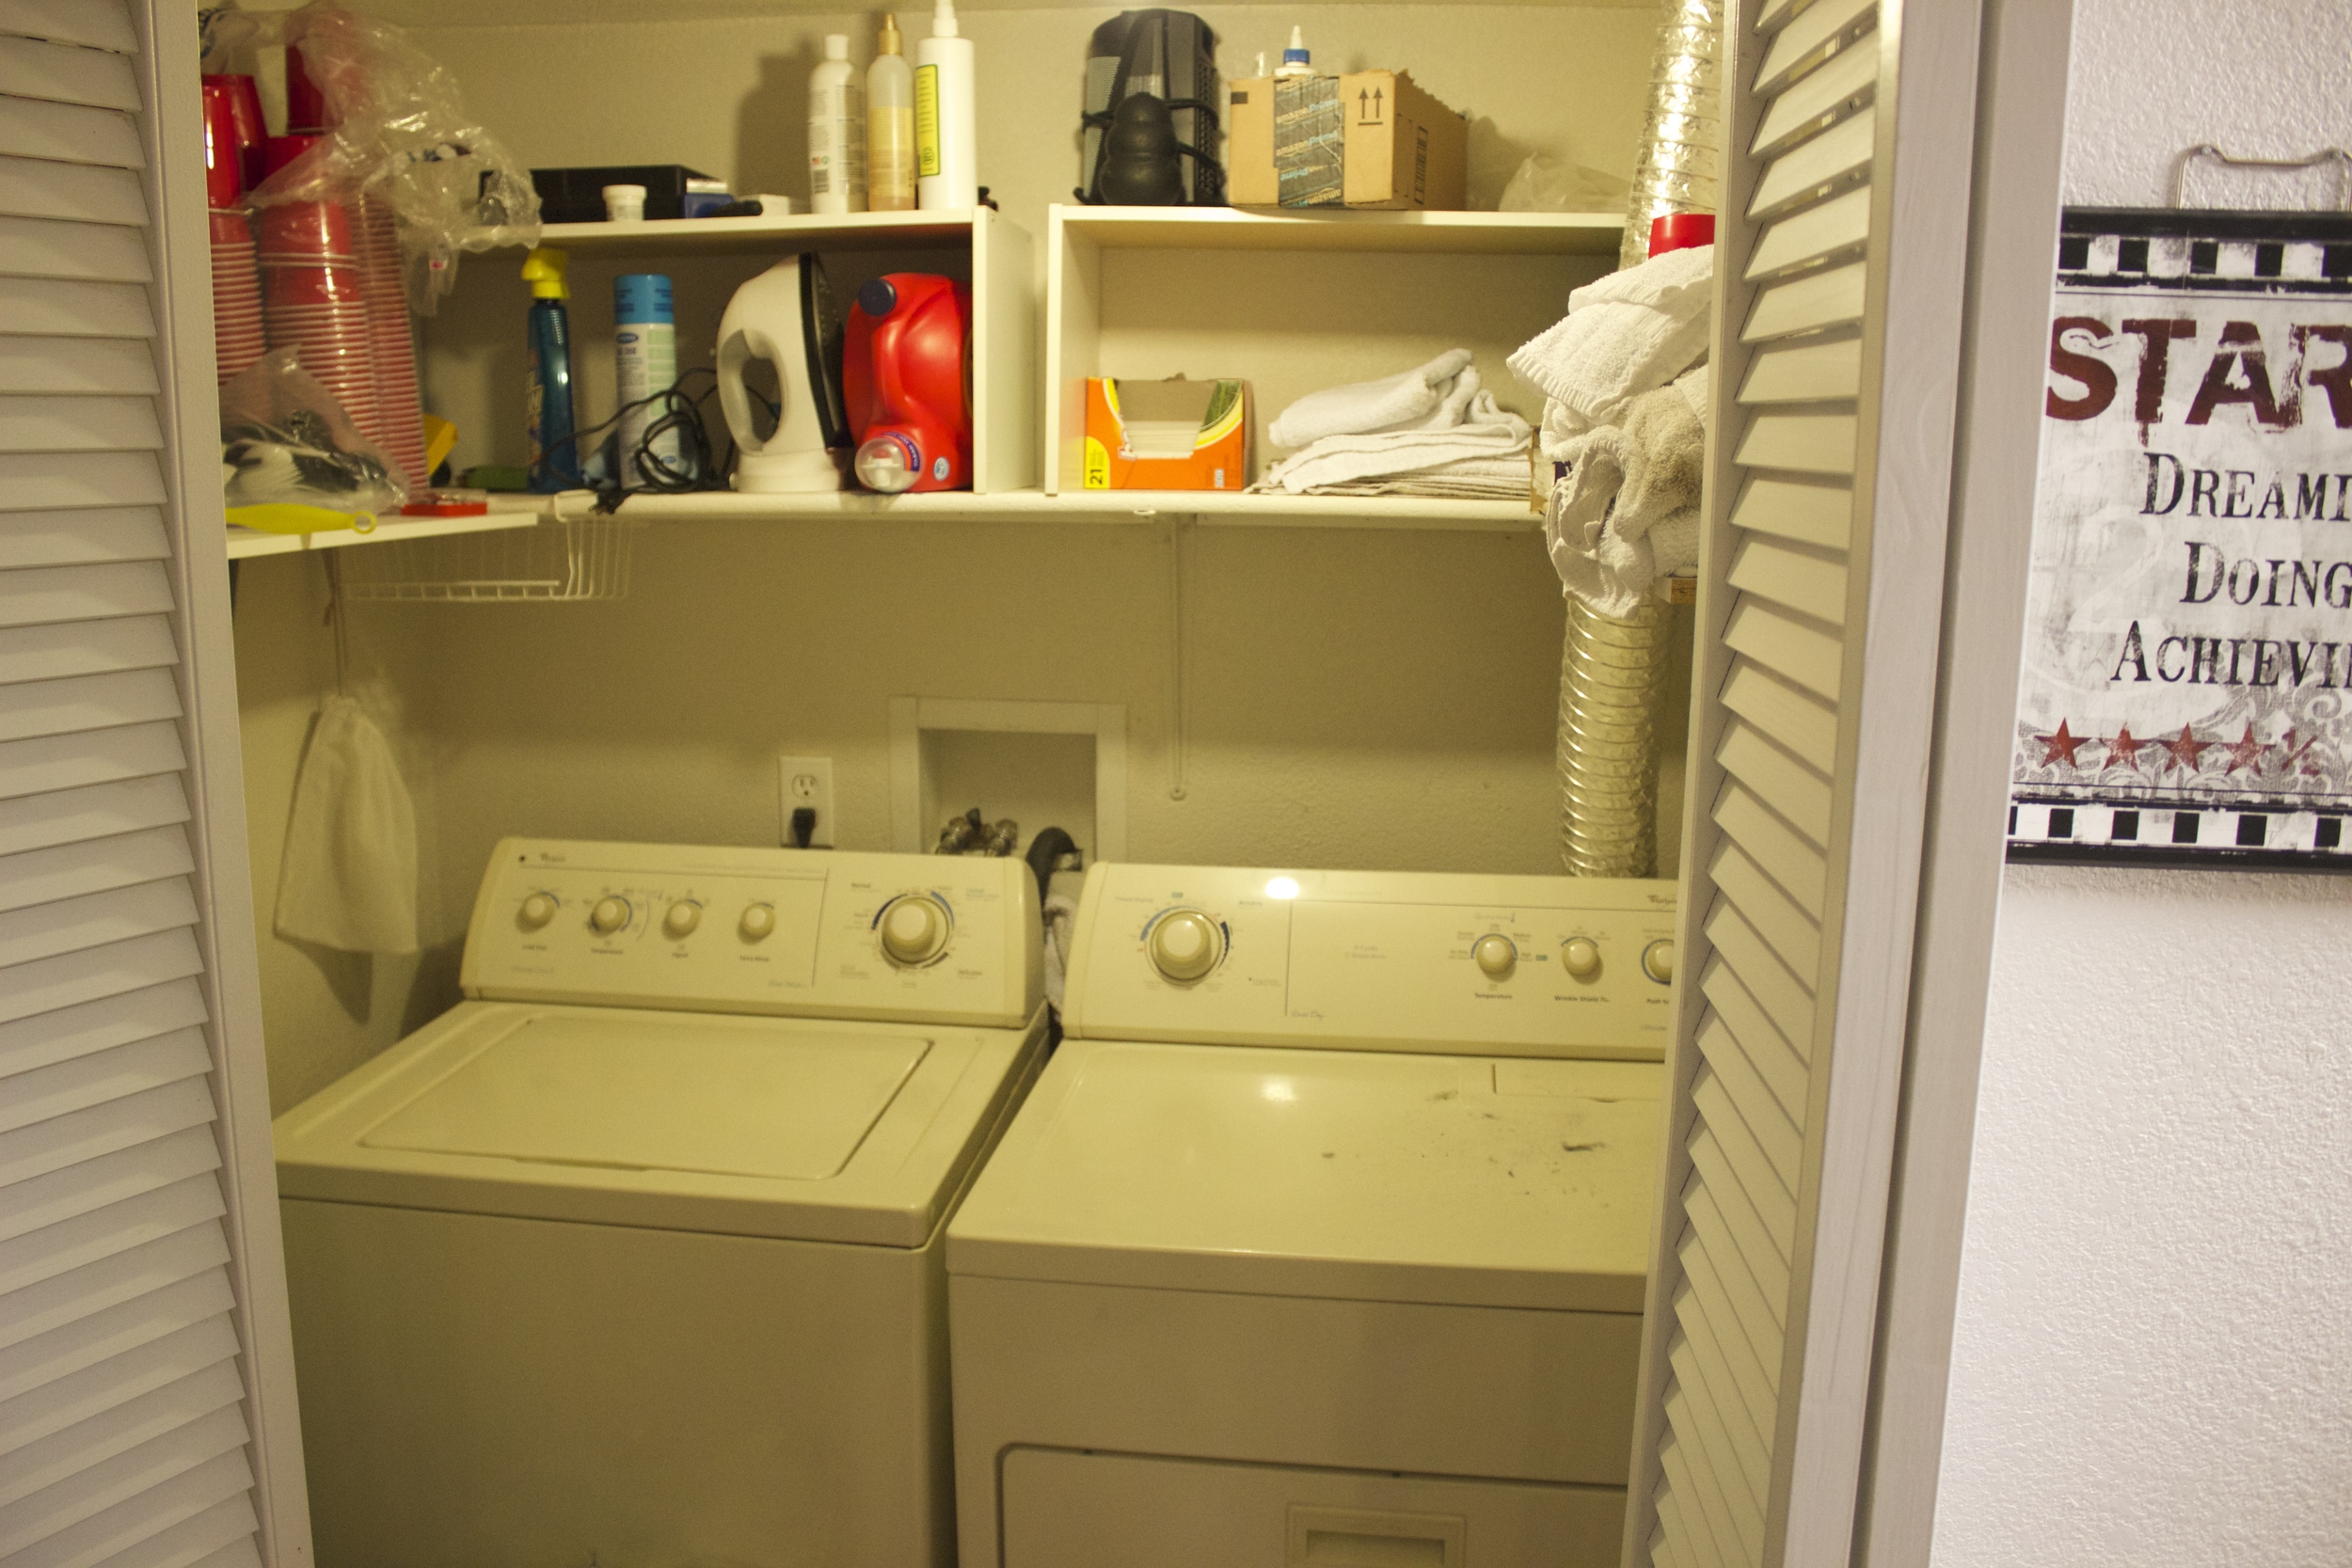
- 2 wet/dry bags/liners to insert into a standard stainless steel auto-open garbage can like this one
- 2 portable wet/dry bags like these or oooooo these cute ones
- Charlie's Laundry Soap
- Stripper (no perv, cloth diaper stripper)
- A sprayer once baby starts solid foods
- Flushable diaper liners for those special solid turd times
So here is how all this works in practicality for us.
0-6 Months (i.e., pre-solid foods)
During this boot camp phase of baby life, cloth diapering is the easiest thing. Essentially, you put the liners into the stainless steel garbage can and when baby has made a lovely surprise for you, you take the dirty diaper and drop it right into the large garbage can. It doesn't matter if it is the biggest poop your breastfed/formula fed baby has ever made. No extra steps, just take it off and drop it in there.
A note about wipes: we use disposable wipes because it seemed easier to us. So we have a separate garbage can for disposable stuff in her room.
For on the go, you will use the wet/dry bags just as if they were the liners in the large garbage can. Put dirty diaper in there, and then transfer the diaper to the large garbage can when you get home. If the wet/dry bag gets gnarly while out and about, I drop the bag into the large garbage can with the rest of the messy diapers.
After about three or four days (or whenever your supply is getting low), you will follow these wash instructions:
- Grab the liner out of the garbage can that has all the dirty diapers in it.
- Put the whole bag just as it is into the washing machine.
- Run the machine on a quick cycle, cool wash NO SOAP
- Once done, add a scoop of the Charlie's soap and run a load on whites/hot, heavy soil
- Last step is to pull the liners that didn't come out in the wash out of the diapers and put those and the garbage can liner into the dryer on low. Then air dry the cloth diaper "shells." If you can dry the shells outside in the sun, it basically bleaches them. MAGIC.
Once a month you will take the garbage can liner bag full of cloth diapers and sprinkle a bag of the laundry stripper on top before you follow the same wash instructions above. That's it.
6 Months Onward: Solid Food Phase
Well team. You made it. Your baby can now eat some solid foods. YAY! What a fun time! Now the only thing that changes about cloth diapers at this stage is deal with more solid turds. And "solid" is a loose term (such a bad pun). The turds are just more ... difficult let's say. Anyway, you will want to do two things to save your cloth diapering butt.
- When you put a new diaper on the babe, use a flushable liner. That way, whatever surprise is lurking there, you can lift out and flush right down the toilet.
- For the times you forget to use a liner, and for the real tough turds, you will need a sprayer that attaches to your toilet.
The washing instructions remain the same even though the poop game has changed. I hope that I never write a post so much about poop again. ;)
You got questions? I got answers! Let's get into it.