Kitchen Before and After
/I am not sure why it has taken me so long to do a full side-by-side reveal of the kitchen. It's clearly the space that went through the largest transformation. When we bought the house, the kitchen was sporting red countertops, fruit backplash, flesh colored cabinets, and (you guessed it) poo brown walls! (Not to mention a florescent light that I still hate and have been waiting since JANUARY 20 FOR THE DANG LIGHT I ORDERED TO SHOW UP! I digress...).
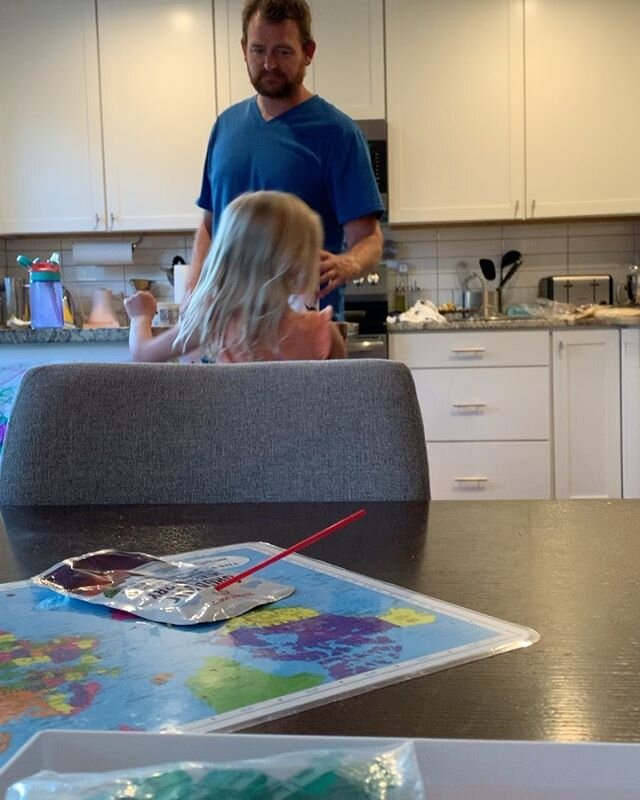
After we redid the countertops, this little nook with the big cabinet and glass fronts quickly became one of our favorite spots in the house to dump stuff organize important papers. Also, Avery picking up her backpack in the background is a favorite.

We painted the walls cement gray by BenMoore, the cabinets got Zinser's smart prime (2 coats EACH SIDE ... don't even get me started on lumpy, "oh I froze in transit" paint), Ben's high quality, self-leveling paint in Cloud White, and a ton of time painting both sides with two coats. They also got soft-close hinges installed. I am in LOVE with soft-close hinges. Unfortunately, to put them in the drawers, we would have to basically rebuild the drawer tracks. This means we are not going to do it going to put it off for a while so I can convince LB it is TOTALLY necessary.
LB also wired in under cabinet lights that make me wonder how I EVER survived without them (LB and the lights... obv.). I genuinely have no idea how he did this, but they are awesome and if you're ripping out walls to do a backsplash anyway, you might as well do this while you're at it. I will see if I can get him to write a tutorial on those bad boys (chances are low).
 I'm CLEARLY loving the under cabinet lights.
 This little corner was an absolute nightmare. From the cement board to the tiling, it can just stop being so corner like.

We used white cement tile from HD and a black grout throughout the kitchen. We also changed out those silver light switch plates (vom). You also might remember from my post on outdoor storage, that we took out that cabinet above the fridge (best decision ever). Don't get me wrong, I love my kitchen as it is, but it is definitely a for now update. Example: the grout lines on the tile are not perfect. I wish we would have just gone ahead and done the tiered pattern instead of trying to just do them randomly-- the result was that the pattern ends up looking like we tried to do this, but got it crooked. Either way, I will take this over fruit any day.

And now this little wall behind the stove. Definitely the easiest to tile and also such a bright, lovely place to cook.

 All told, we spent about $700 on this kitchen. The bang for our buck is still astonishing to me!
As for a phase 2 update to this bad boy we've got quite the list:
- Gas STOVE!
- Swap out that awful kitchen box light: light ordered, awaiting it’s arrival... still.
- Paint the ceiling in the kitchen
- Crown molding
- Organize the cabinets with pull-outs
- Install soft-closes on all the drawers
- Change tile to either other tile or hardwoods to match rest of first floor
- Blowout the wall that is between the kitchen and living room and add an island. If we end up doing this, we will then go granite throughout the kitchen and get a bigger fridge. We will also pay someone to tile the backsplash with some color pops. Like this, or this, or ohhhhh even this.


Also on The DIY Dreamer, Turn it up Tuesday, and Not Just a Housewife!